Table of Contents
Section 1: Registration and Login Process
Section 2: Logging Into the App After Initial Setup
Section 3: Viewing Updated Elderplan Data Records
Section 1: Registration and Login Process
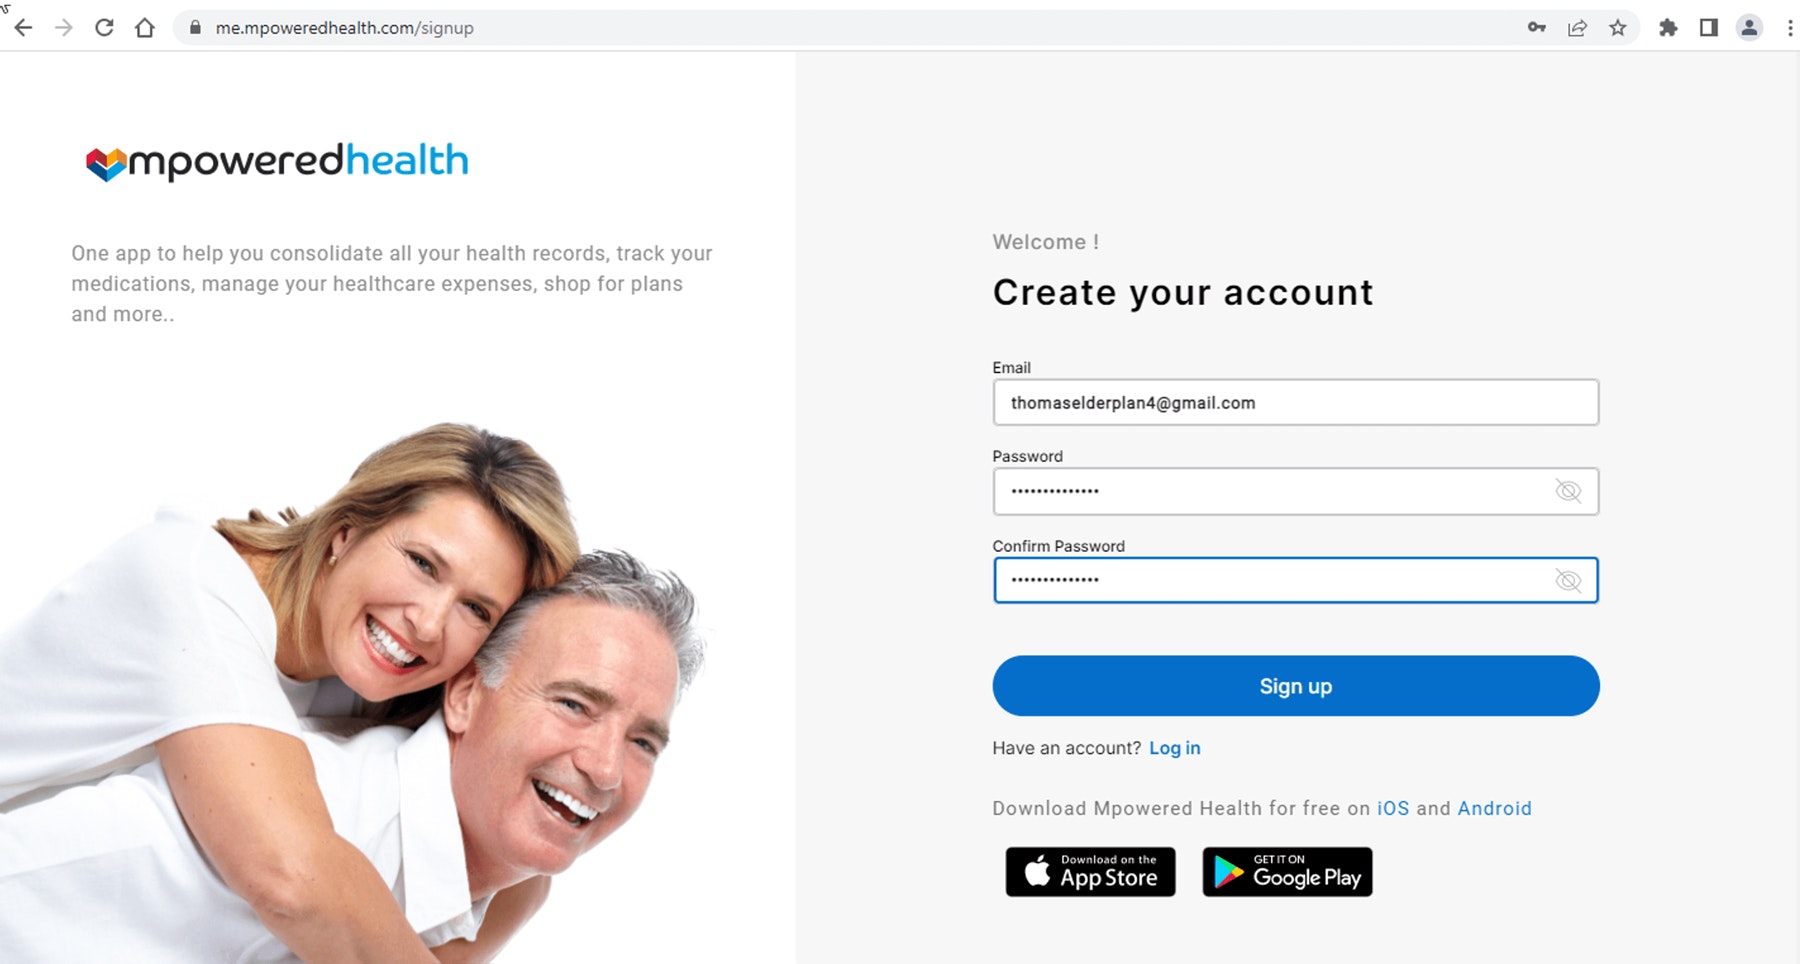
Step One: Create a new Mpowered Health account
- Go to https://me.mpoweredhealth.com/signup
- Input your email address.
- Choose a password. Your password must be at least 8 characters long and contain at least an upper-case letter, a lower-case letter, a digit, and a special character (for example, $, %, or &).
- Confirm the password and click the Sign-up button.
For password creation, the following instruction appears on the sign-up screen: “8+ characters”.
Only one registration is allowed per individual email address.
Step Two: Personal Information
Enter your first name, your last name, a cellular phone number (cannot use a landline phone number), place a checkmark in the “Terms of Service” checkbox, and click the Create Account button.

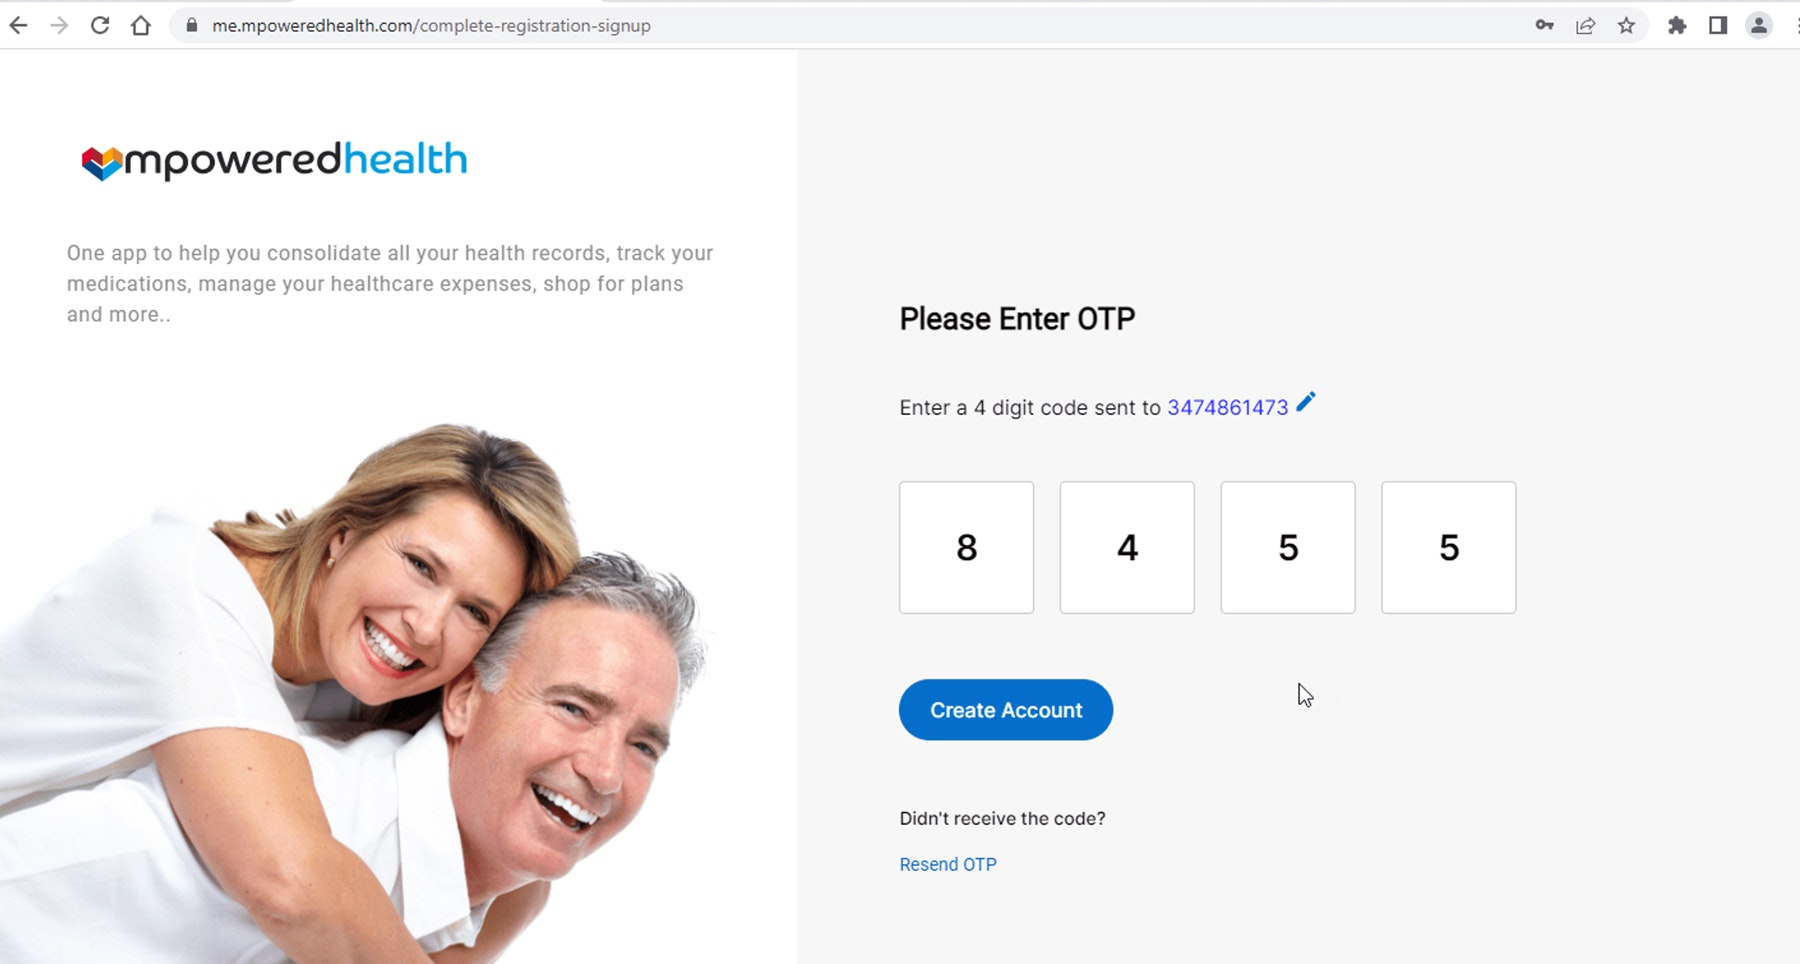
Step Three: Verify 4-digit code sent to cellular phone on OTP screen
Once the registration process is complete, you will receive an Mpowered Health 4-digit verification code on your cellular phone. Enter the 4-digit code on the Mpowered Health OTP screen and click the Create Account button.
Step Four: Verify Email
Once the OTP verification has been completed, you will receive an email confirmation with a verification link.
Please open the email and click on the verification link.

Step Five: Enter Username and Password
On the Mpowered Health Log In screen, please use your created username/password combination and click the “Log In” button.

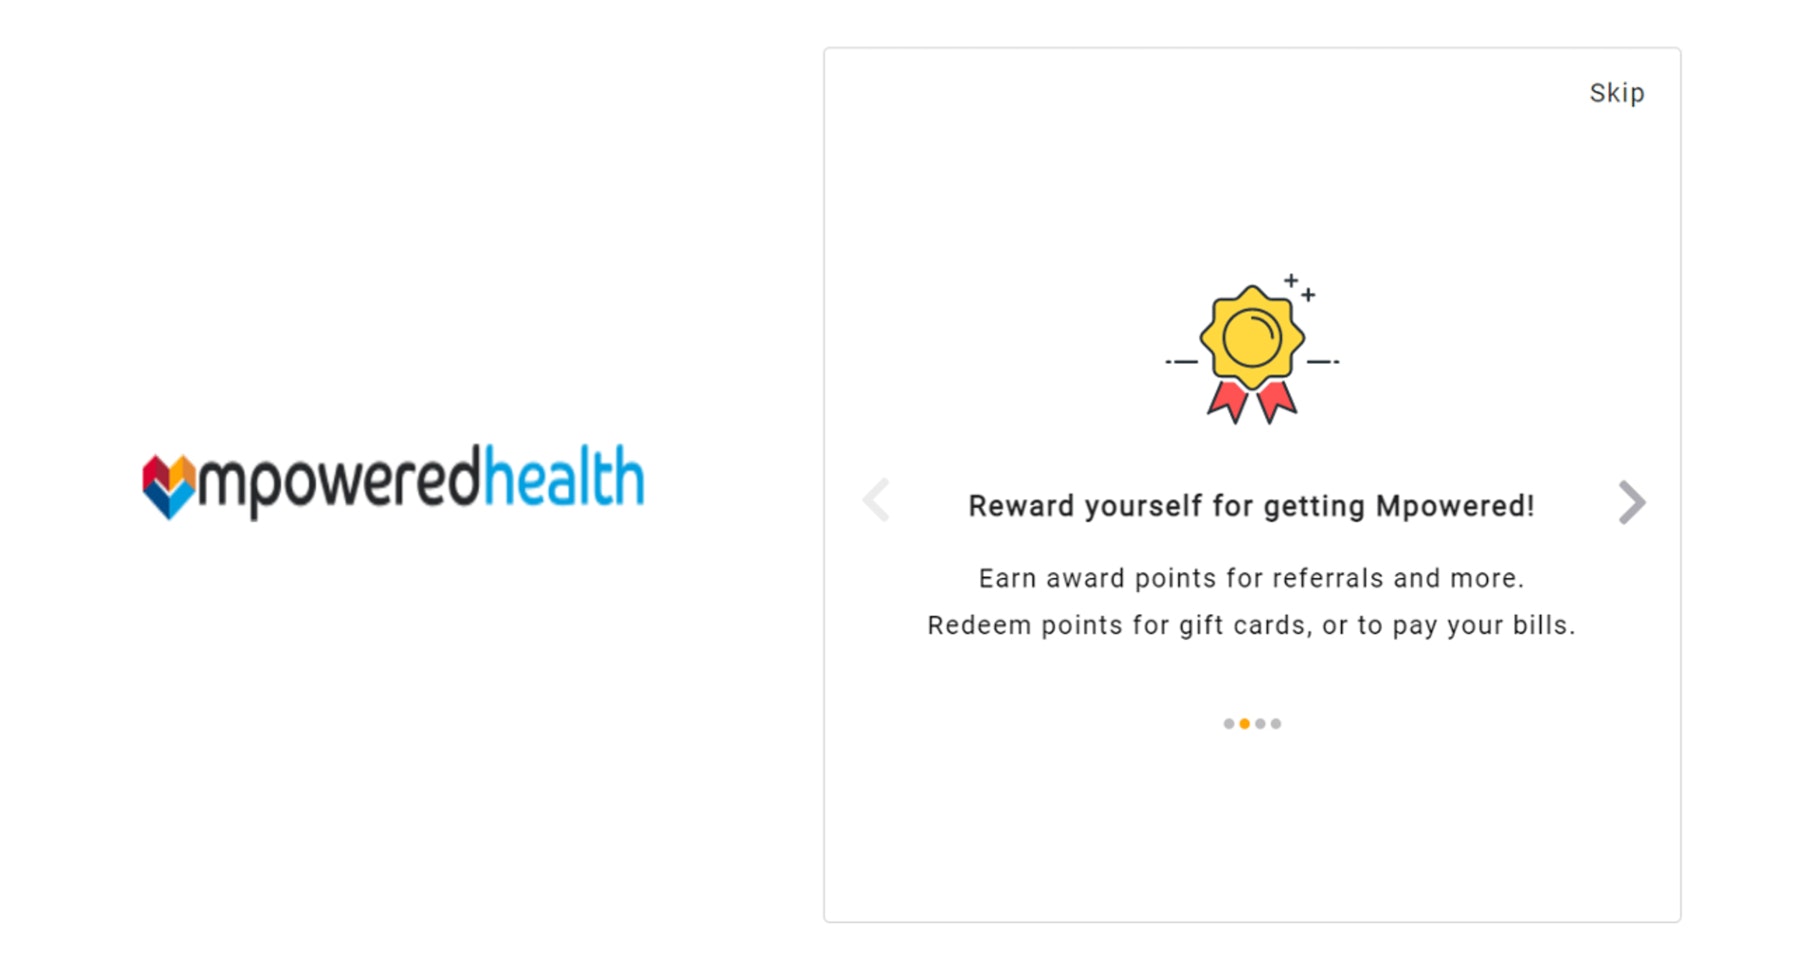
Step Six: Quick Tips Screens
Browse through (or skip) the quick tips screens until you reach the Get Started button.


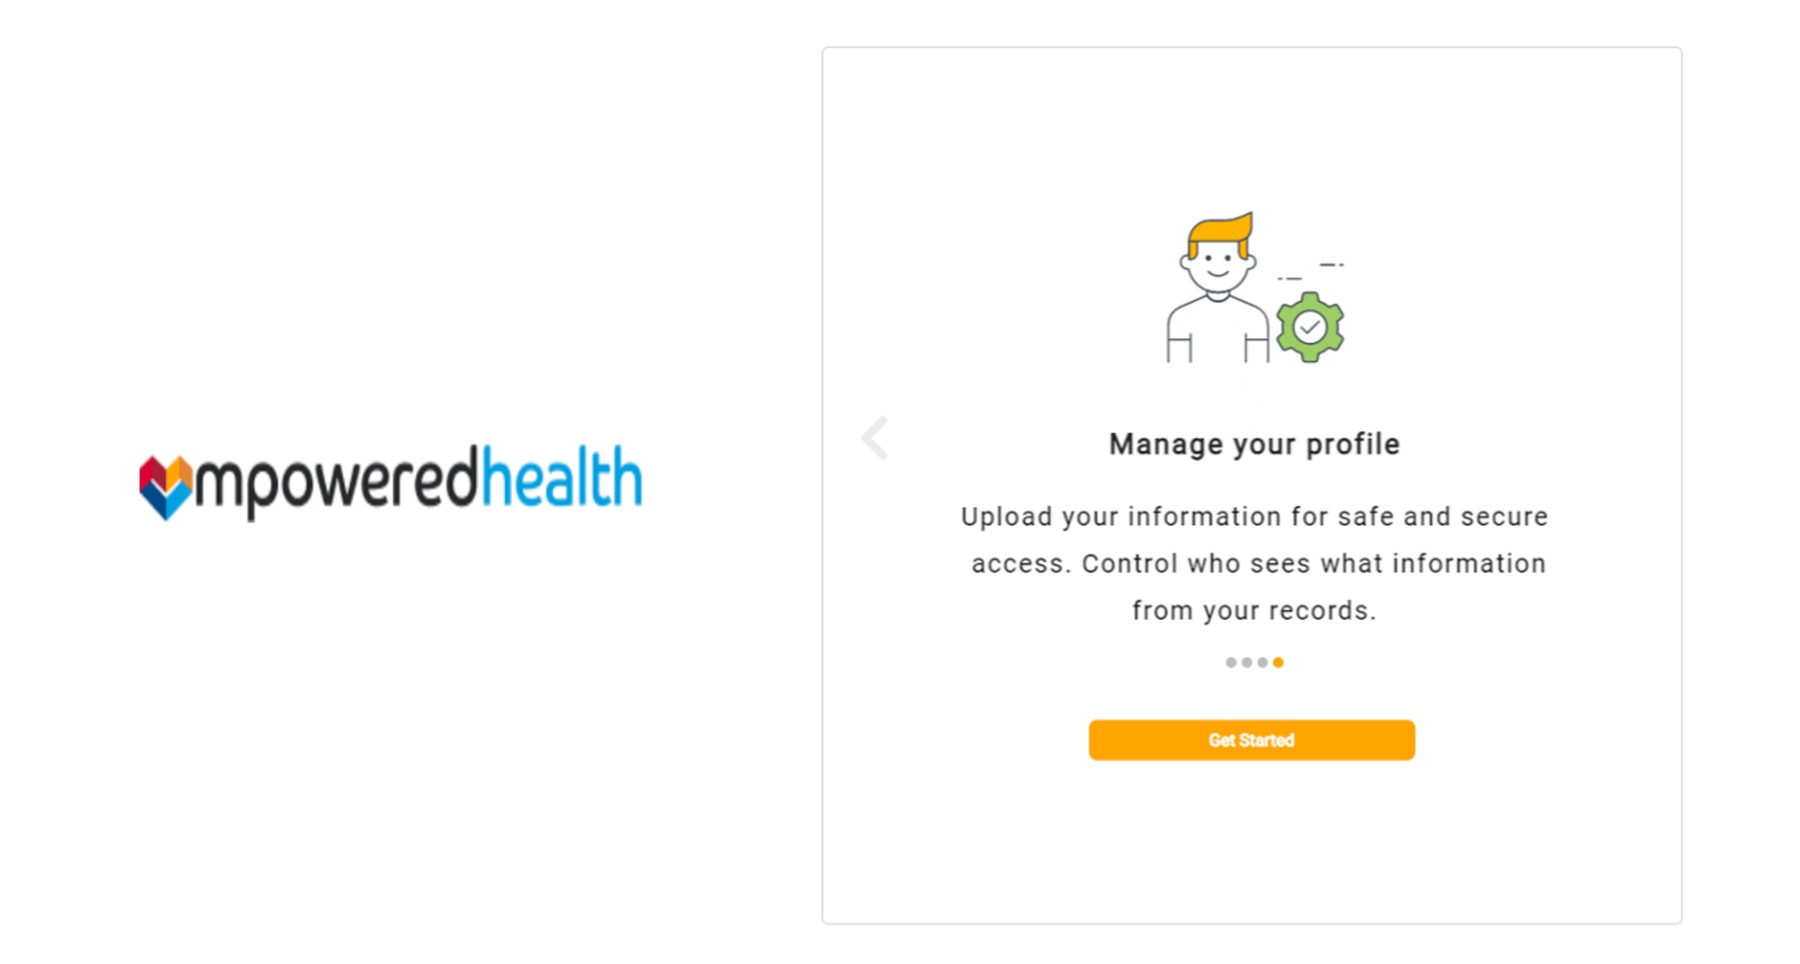
Step Seven: Get Started
Click the “Get Started” button to begin.
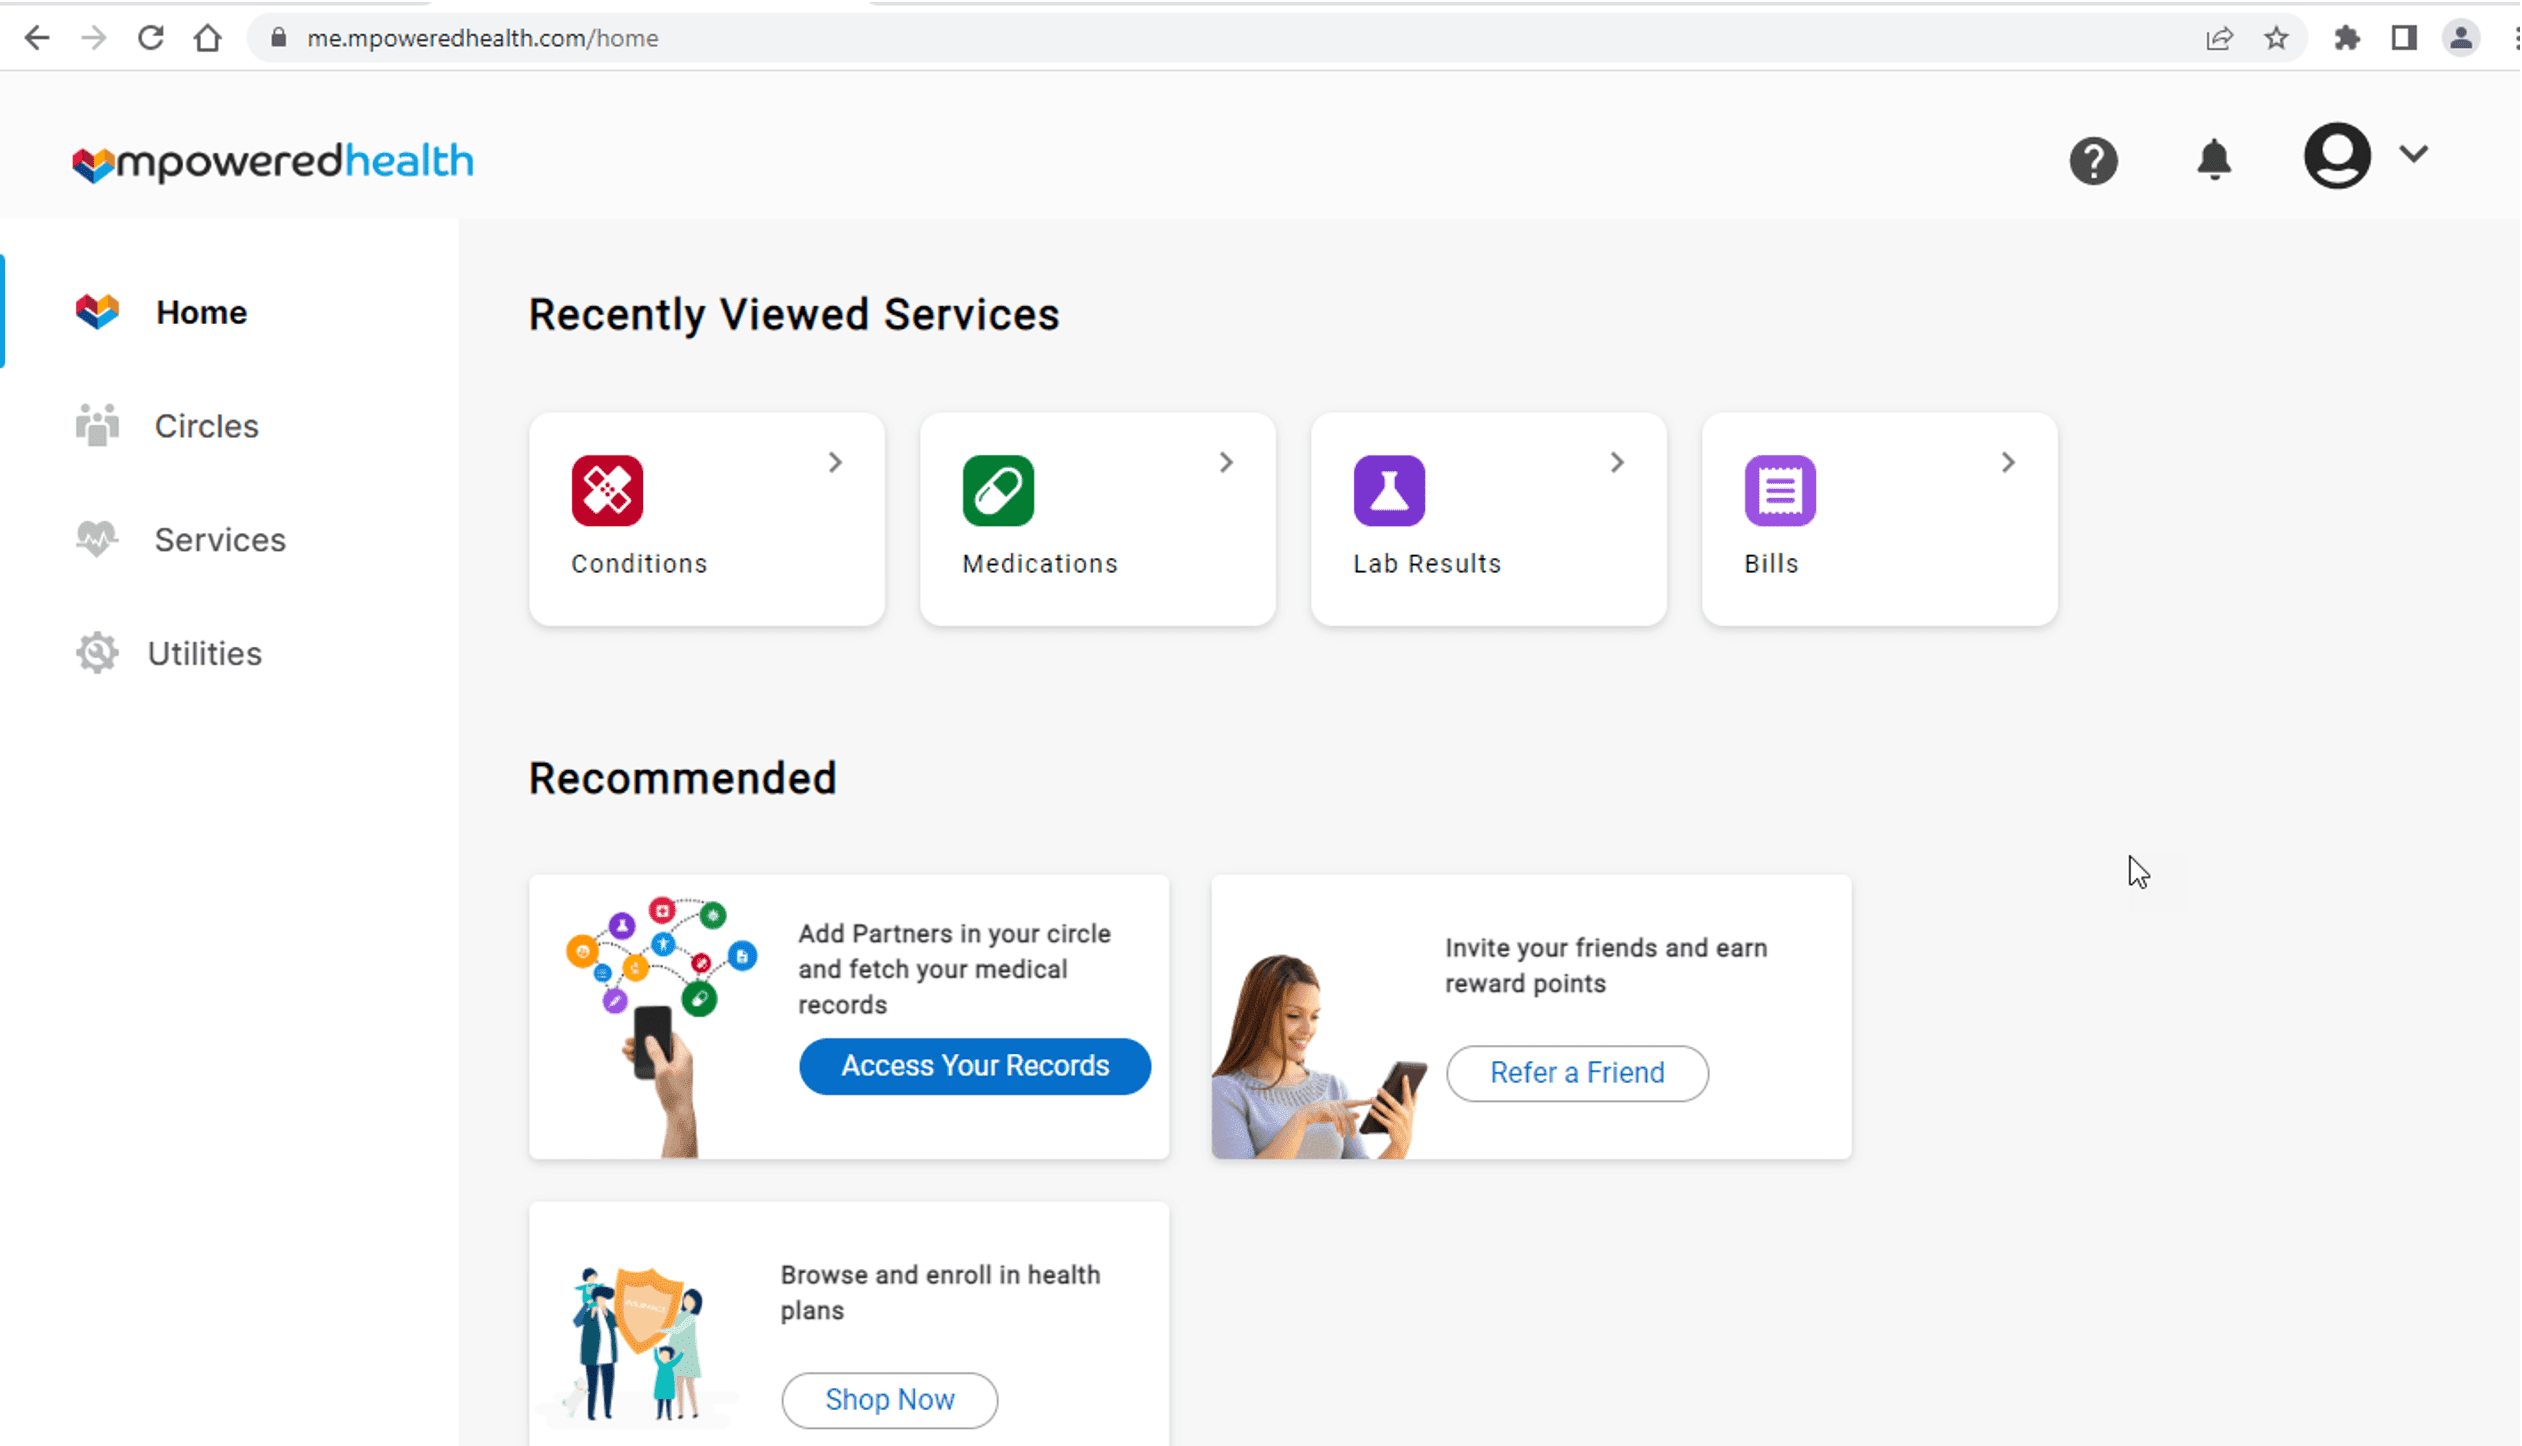
Step Eight: Access Your Records
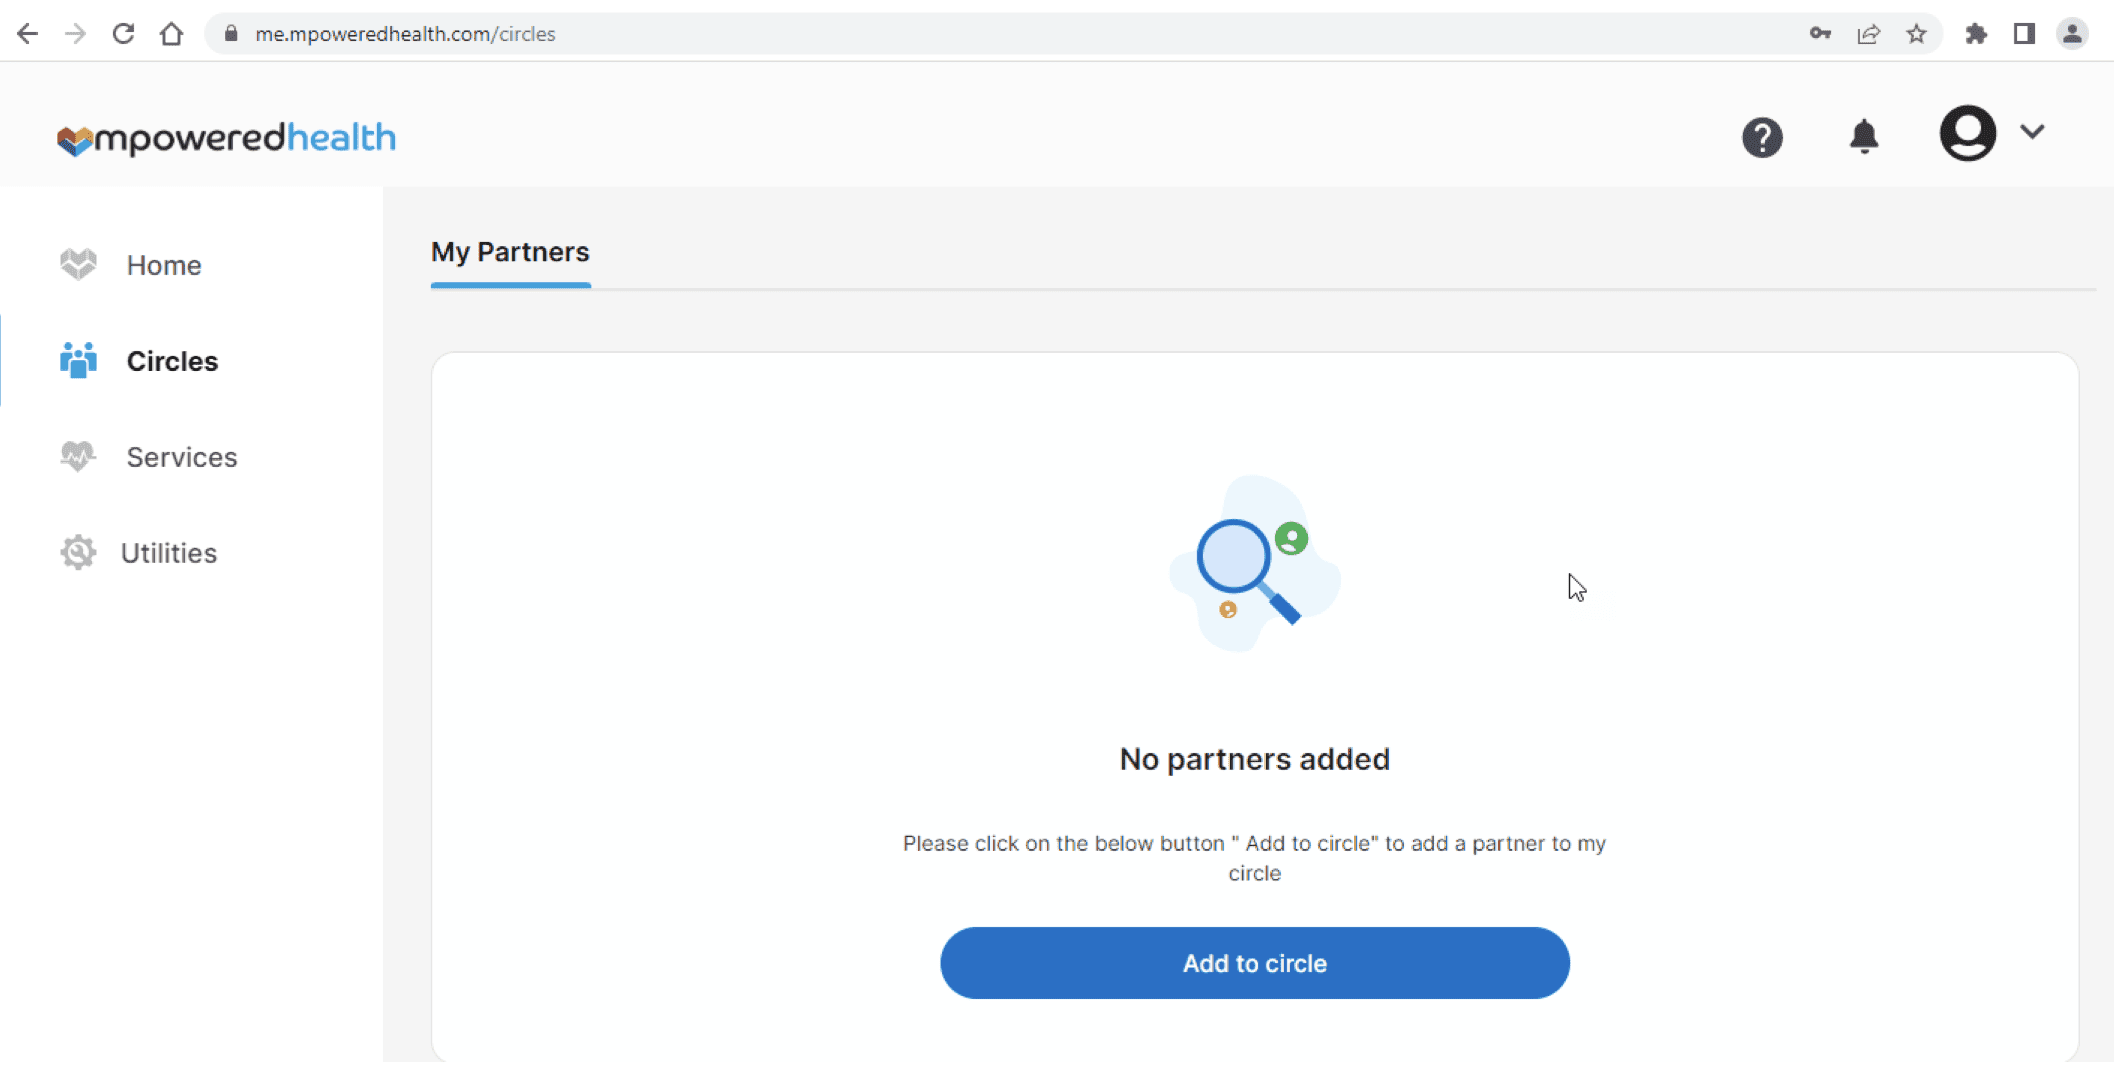
On the Home tab, click the “Access Your Records” button.

Step Nine: Add Elderplan to your Account
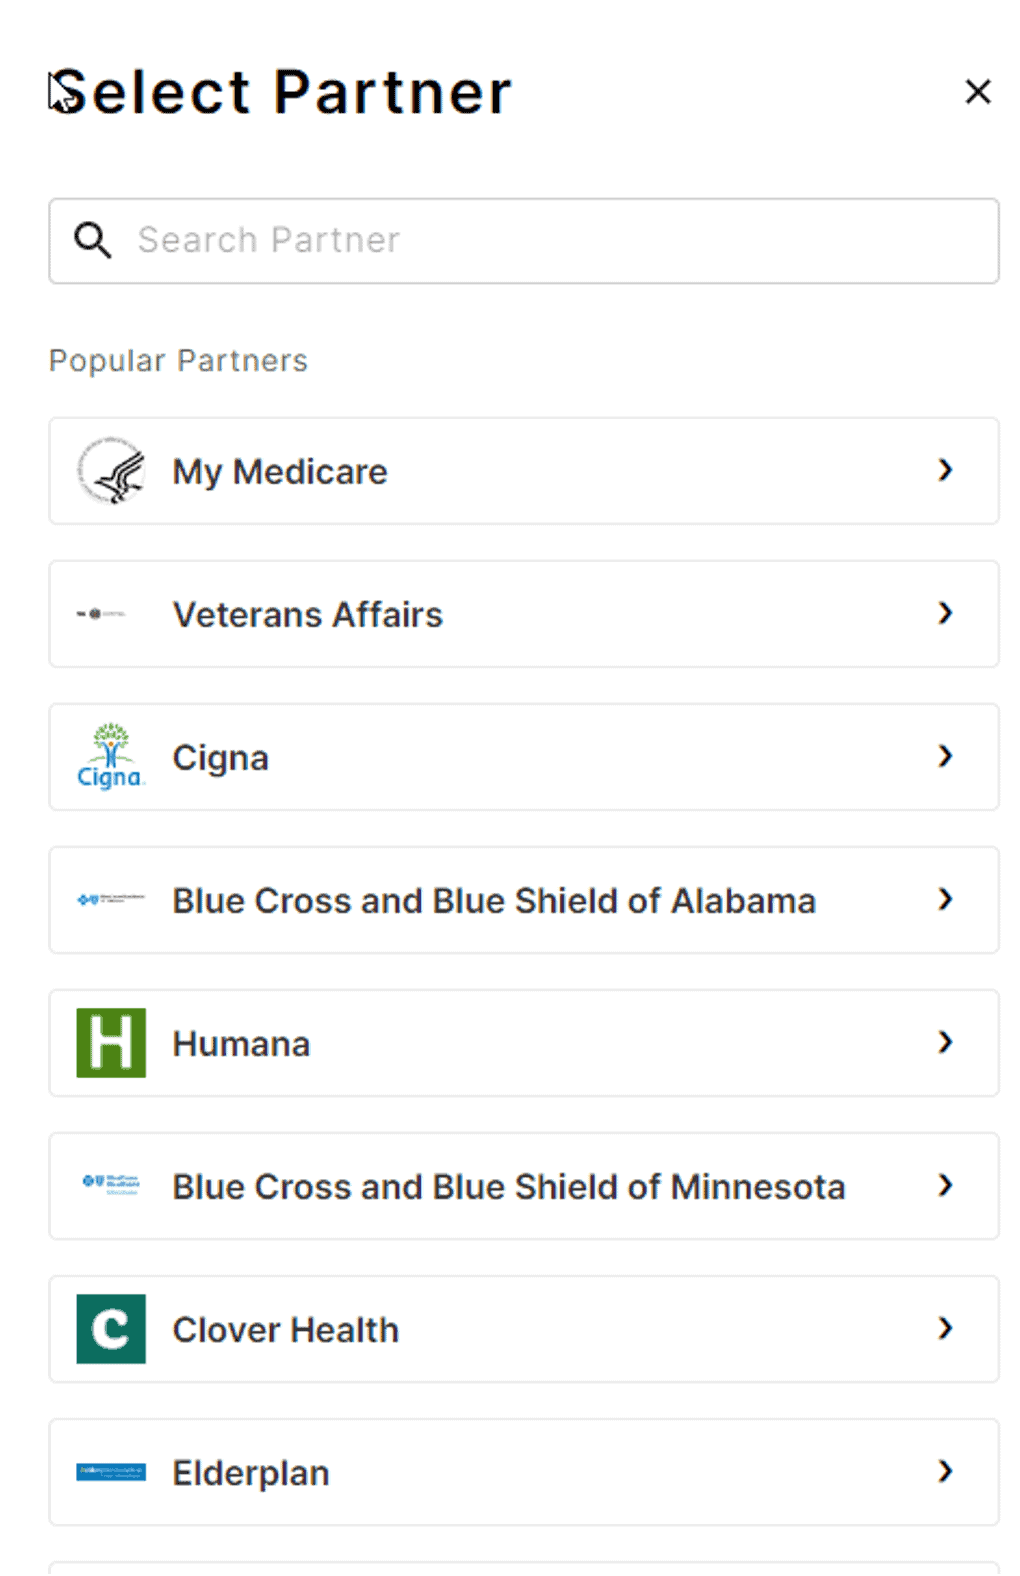
On the Circles tab, click the “Add to Circle” button.
Please scroll down or use the search option to look for and select Elderplan.
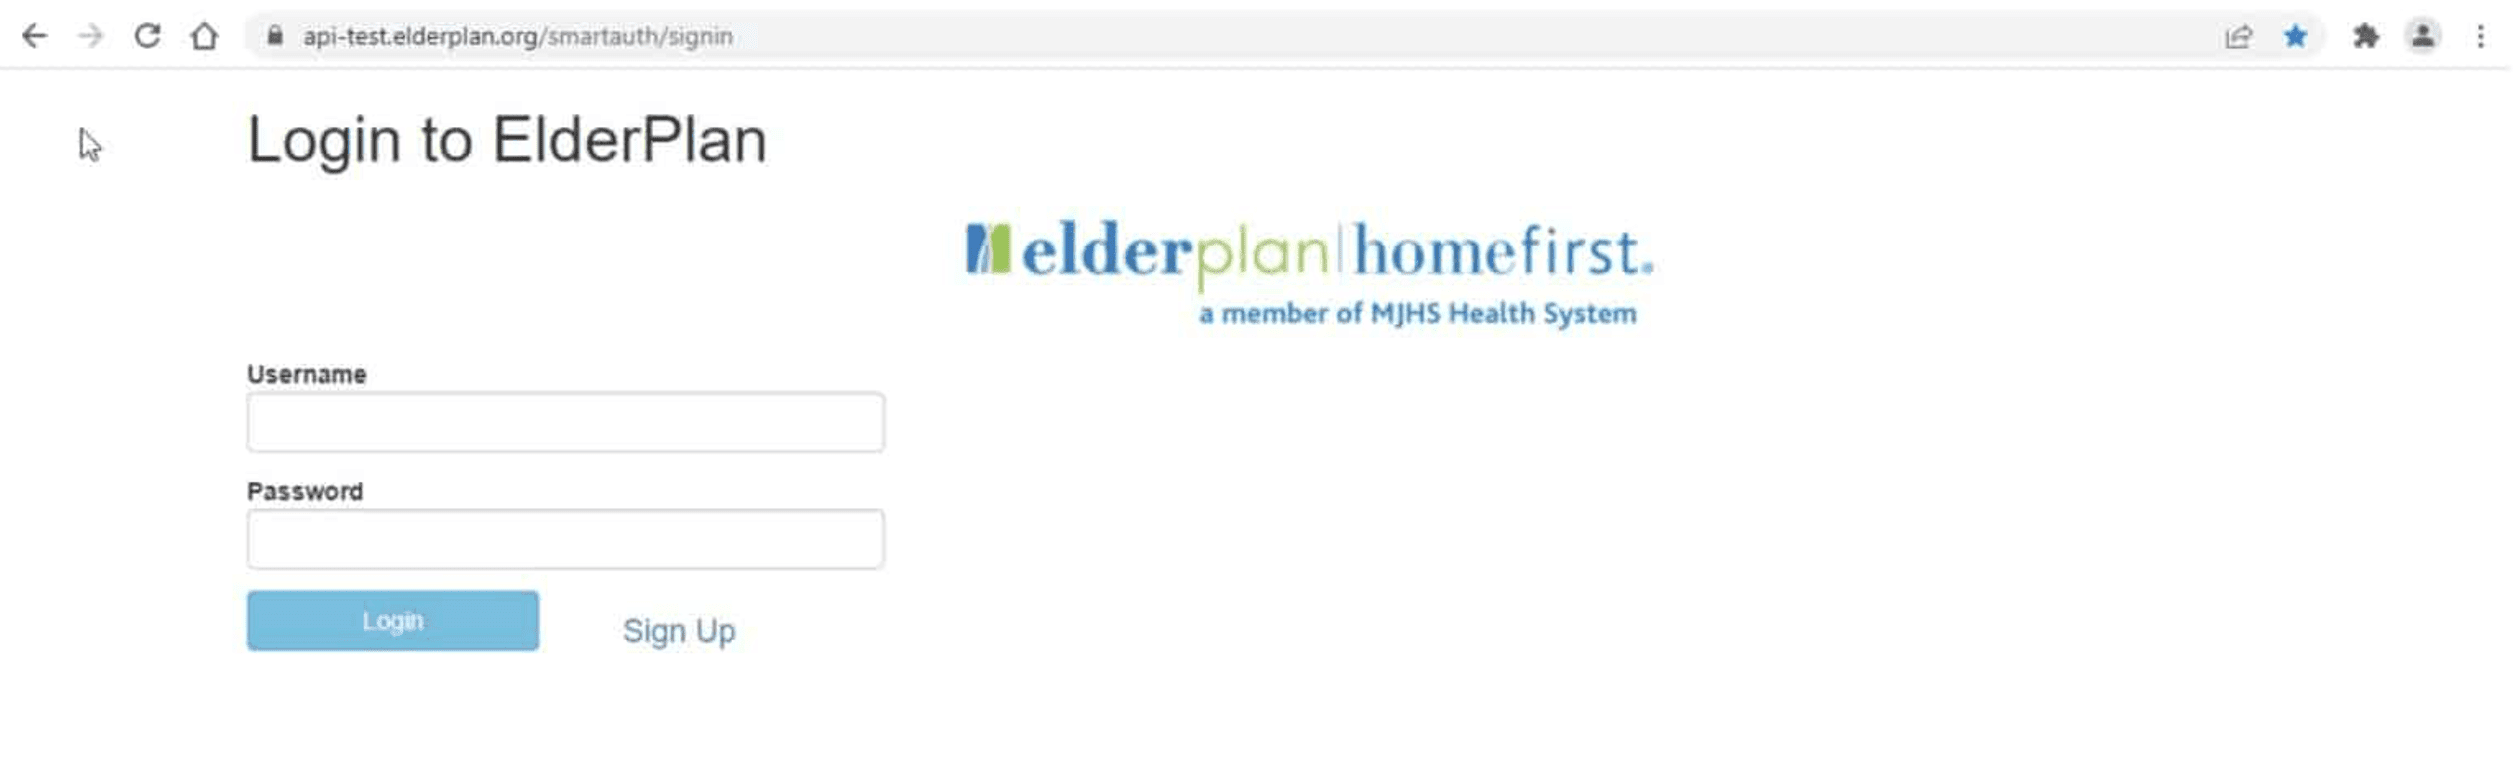
Step Ten: Sign Up
Now that you’ve successfully landed on the Elderplan login screen, please click the “Sign Up” button on the screen to begin the registration process for your Elderplan account.
Step Eleven: Create Account
You’ll be asked to create a new account. A username, password, family name, given name, and most importantly, Medicare ID or Medicaid ID are required to complete the Elderplan registration screen.
You’ll also be asked to prove that you are not a robot by inputting information shown in the grey box in the “Prove you are not a robot” data field. Finally, click the “Sign Up” button at the bottom of the screen.

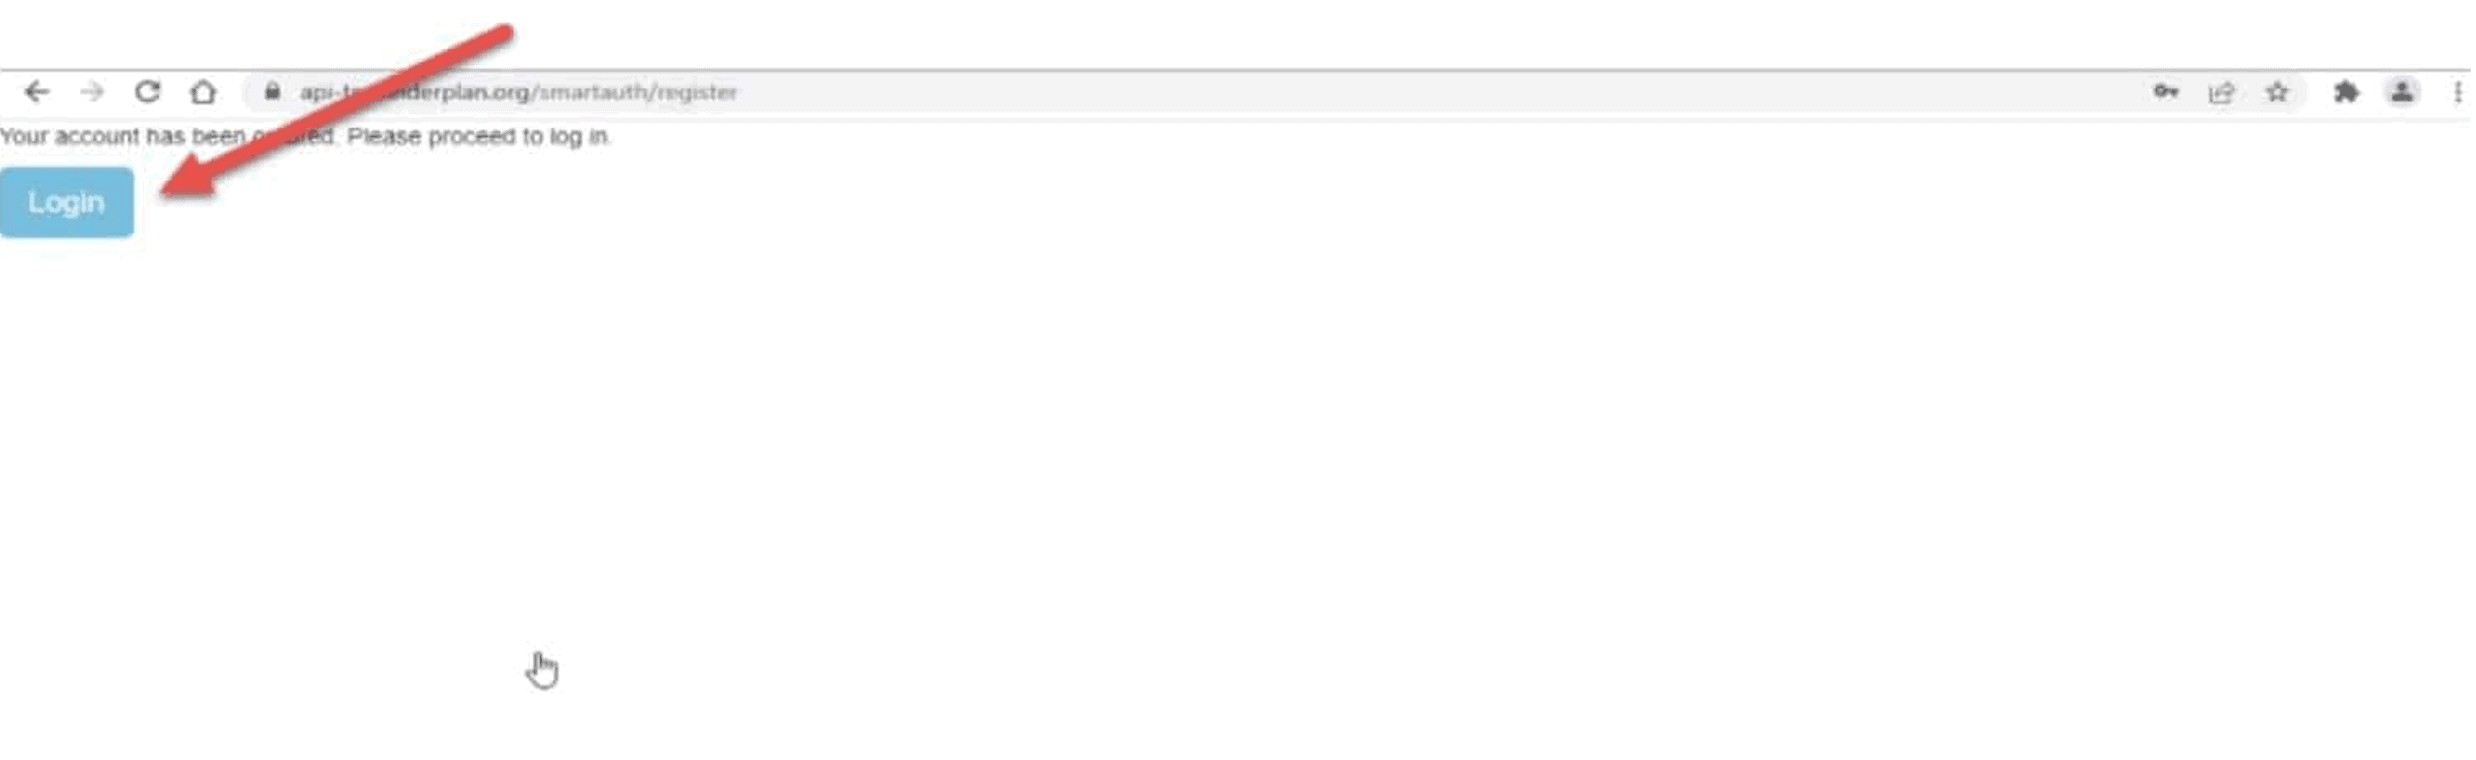
Step Twelve: Login
Click the “Login” button on the next screen.
Step Thirteen: Enter Username and Password
You’re back to the “Login to Elderplan” screen. Please use your created username/password combination and click the “Login” button.

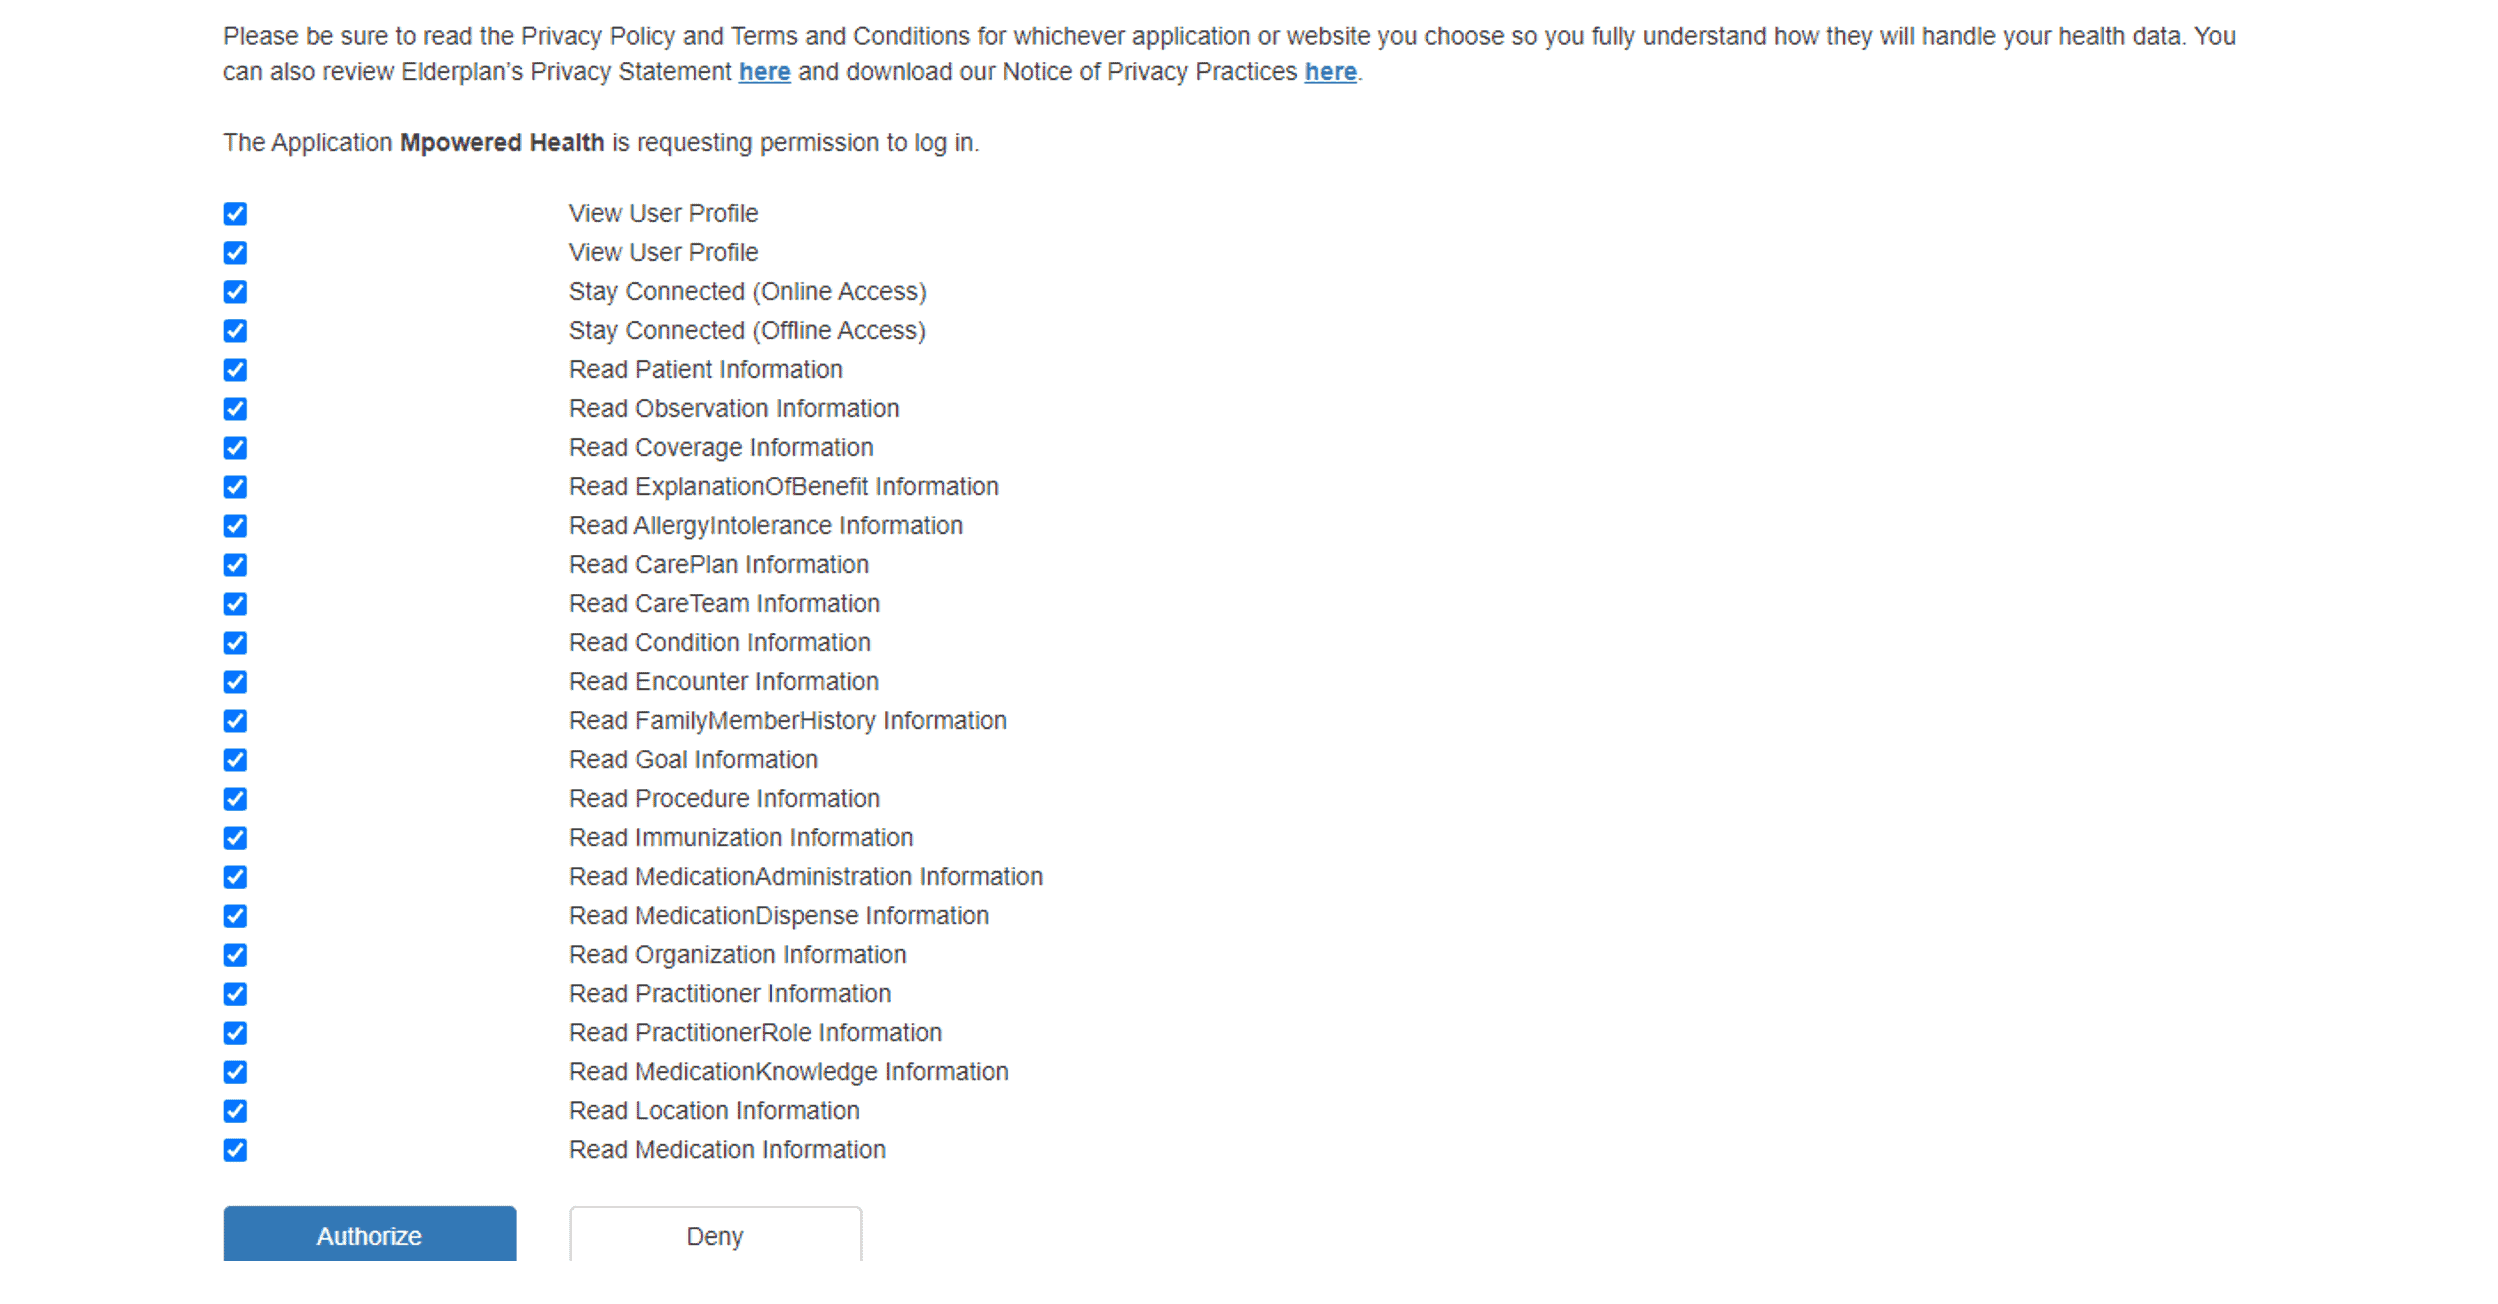
Step Fourteen: Authorize Application to Connect Data
Once you complete the registration/login process for Elderplan, you will be transitioned to the “Authorize Application” screen. Please click the “Authorize” button on this screen to initiate the download of your Elderplan data records to the app (for viewing purposes on the app).
In addition, there are multiple checkboxes with titles such as “Stay Connected (Offline Access)” and “Read Patient Information” that appear on the Authorizations screen. Those checkboxes automatically default to a checkmark status. You should retain that check mark status for all checkboxes before authorizing the download of data records to the app.

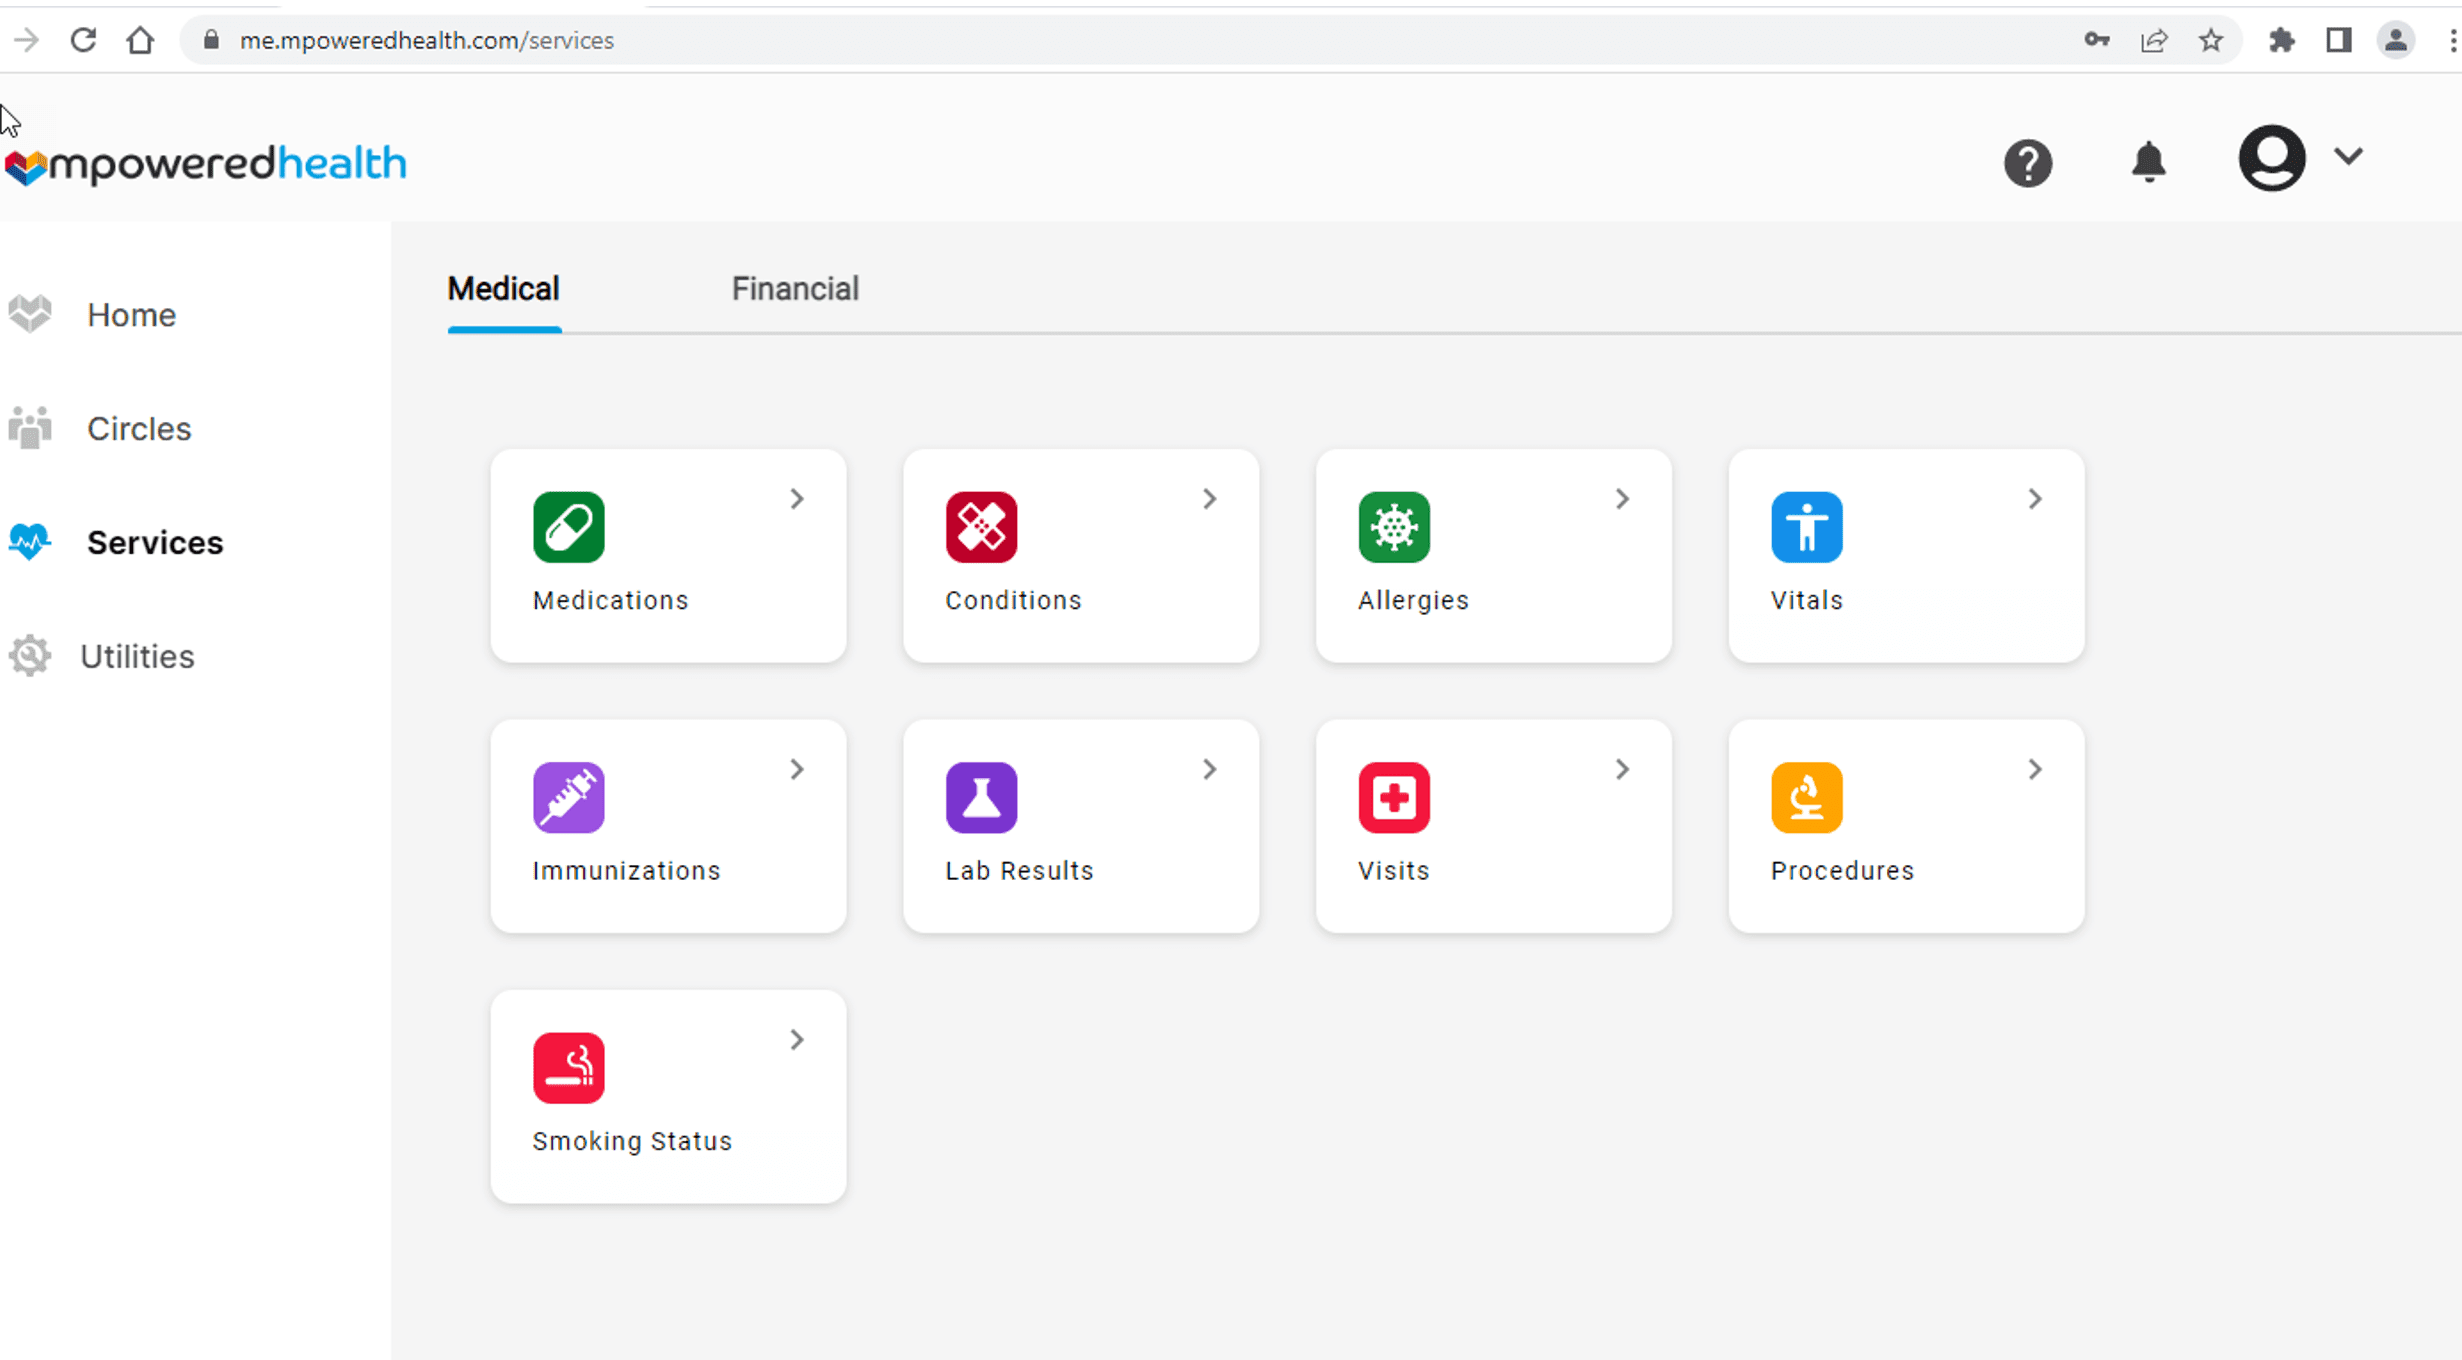
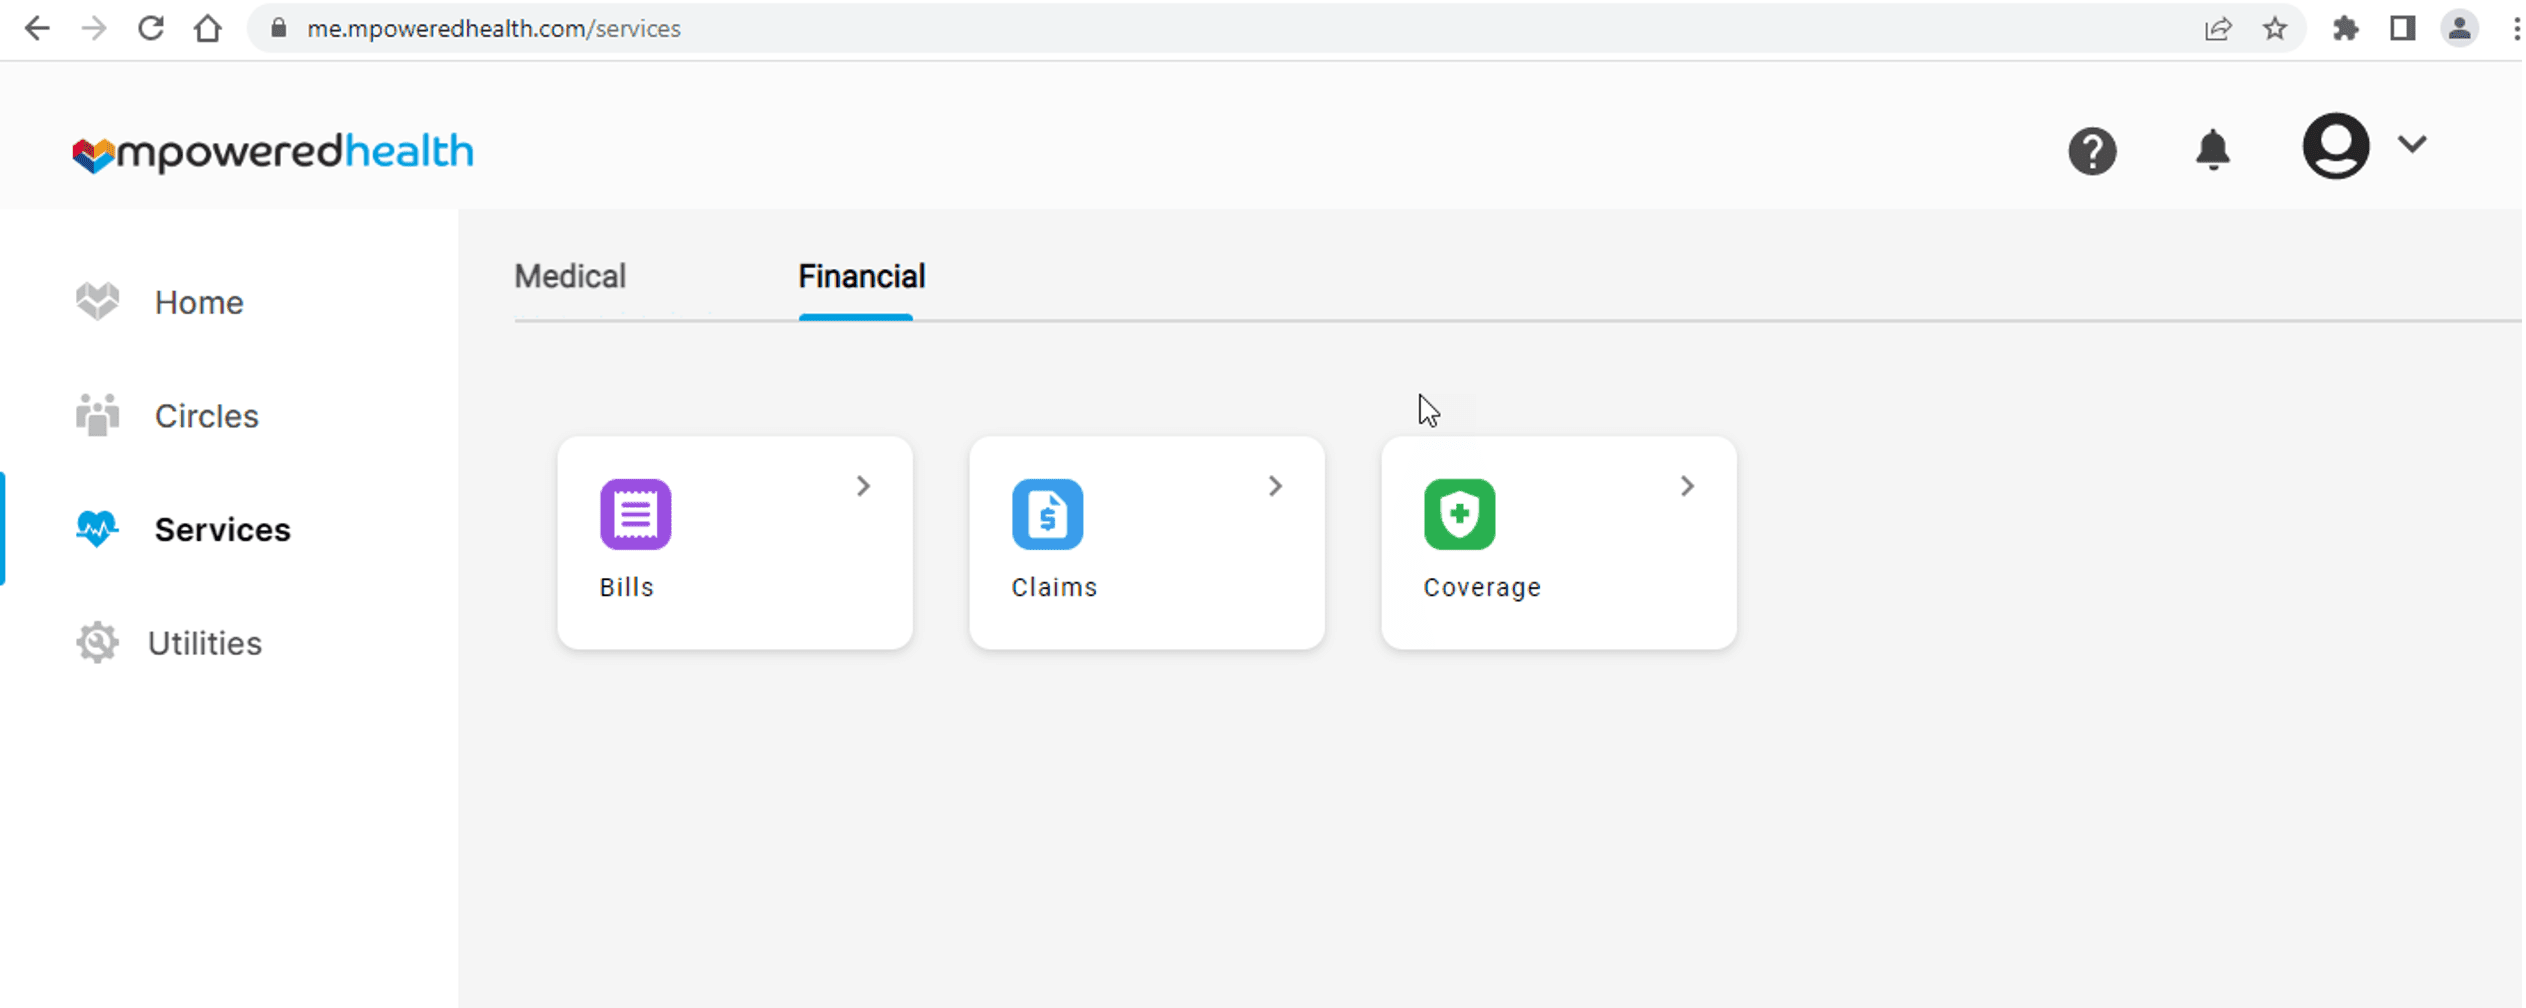
Step Fifteen: Data Download
After clicking the “Authorize” button on the Authorize Application screen, you will be returned to the Home tab. The app will begin downloading your Elderplan data records. You should be able to switch to the Services tab to view the actual Medical (clinical) and Financial (claims and coverage) data records after download has been completed.
Section 2: Logging Into The App After Initial Setup
Once the initial setup has been completed for downloading and viewing Elderplan data, you can log out and log back into the app as often as you desire to view your records.
To log back into the app, you can use the following URL link:
elderplan.org/mpowered
The most straightforward method for logging back into the app is by book marking the app on a typical browser search screen.
Section 3: Viewing Updated Elderplan Records
Once an initial set of Elderplan data records have been downloaded to the app, that set of records should be automatically updated once new records become available from Elderplan (after approximately a 1-day waiting period).
Follow the steps indicated in Section 2 to view updated data records (once the waiting period has completed).
Download the App
Download from the Apple App Store or from Google Play