Overview
Application developers who want to enter the health care interoperability space need to abide by strict standards to keep member data private and secure.
Elderplan Interoperability APIs are developer-friendly, standards-based APIs that enable 3rd party application vendors to connect their application programs to access Elderplan data.
This document provides an overview of how to register 3rd party applications to connect to the Elderplan FHIR server and access member data.
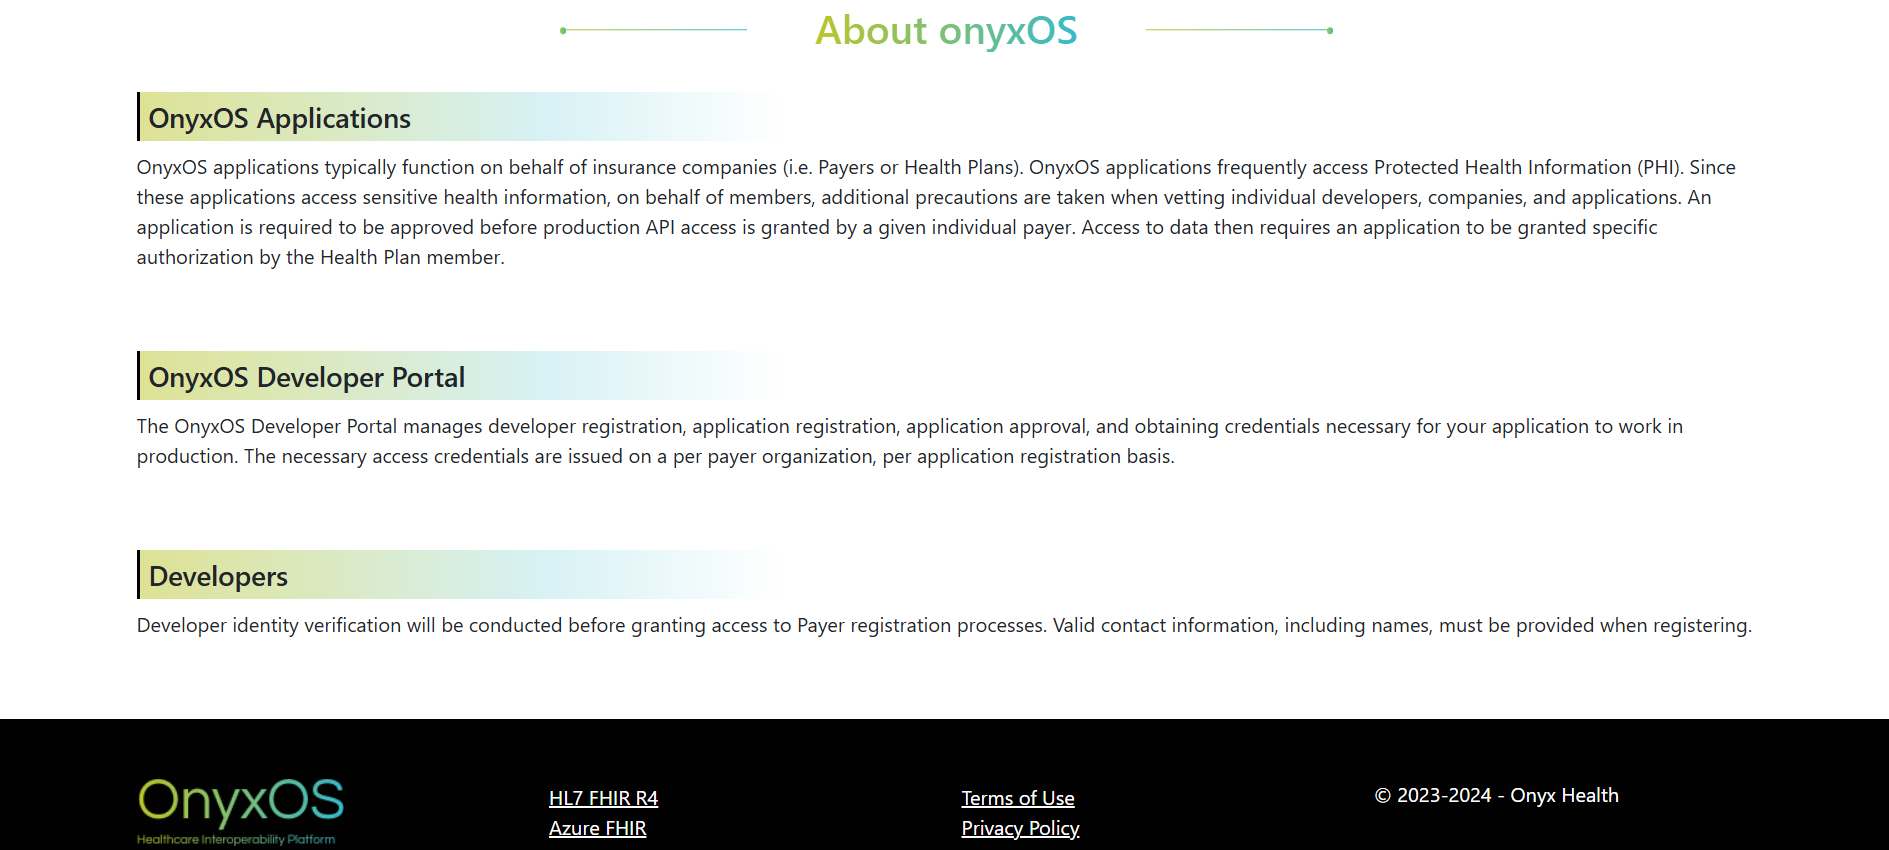
The OnyxOS Developer Portal enables third-party developers to register, manage, and connect their applications securely to Elderplan APIs in compliance with CMS interoperability standards.
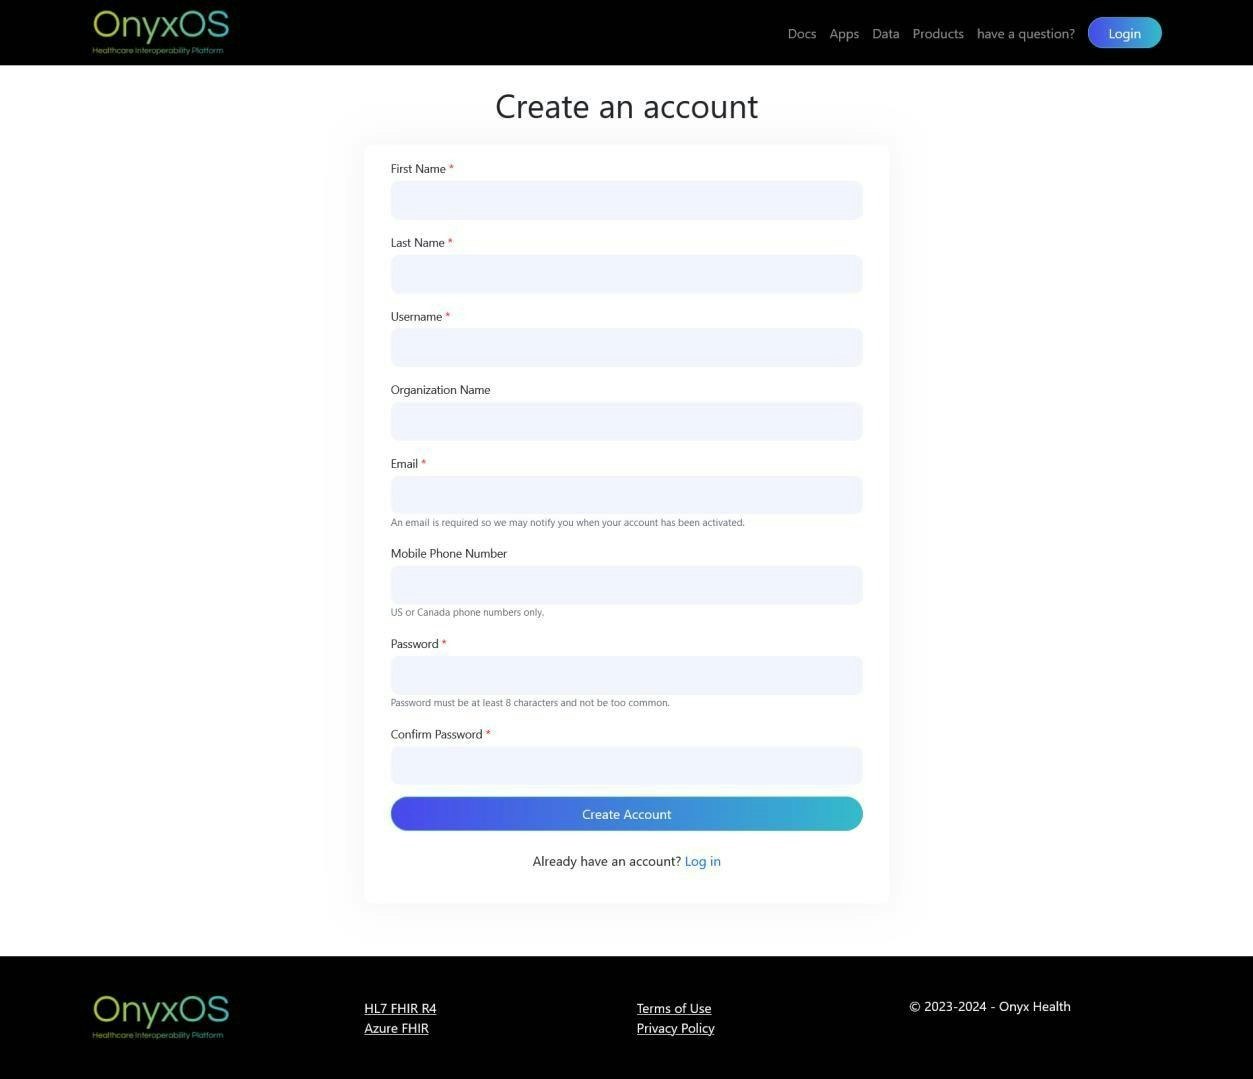
1. Developer Registration
For this initial step, an organization account should exist in the portal system under which its members and agents register.
To register as a member, developers can go to https://portal.safhir.io/ and submit their details. User details will be reviewed, approved, and appropriate permissions will be assigned.
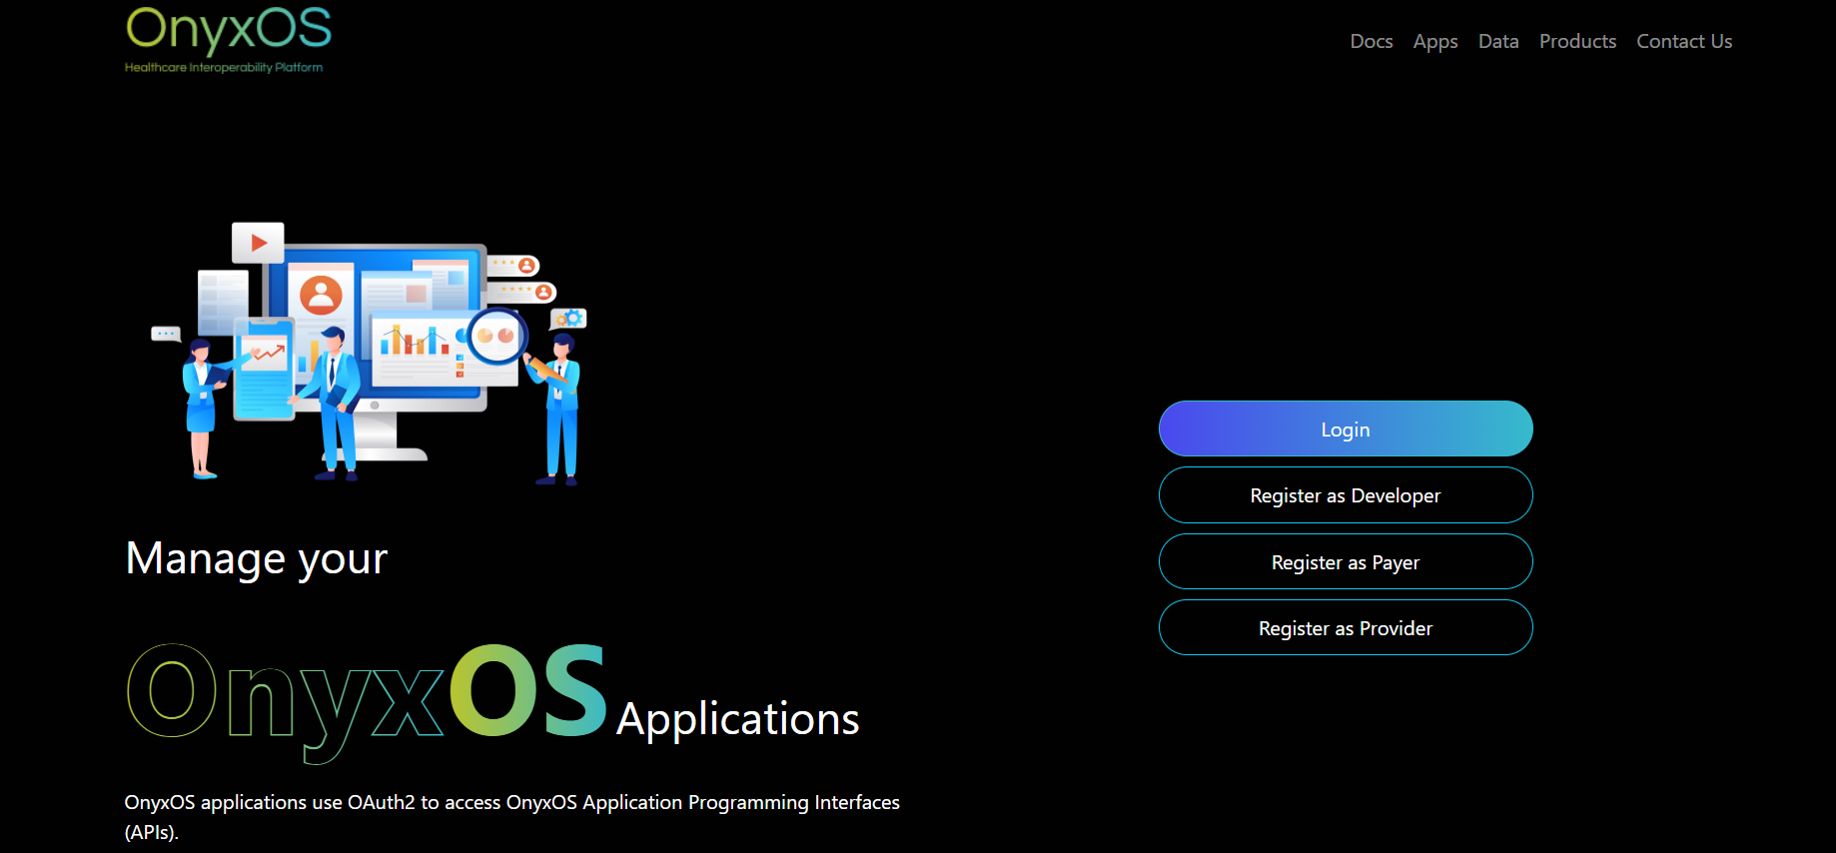
2. Developer Access Request
After the developer registers and their details are reviewed and activated by the portal administrator, they will be able to log into the portal. Once the member account is created, activated on the backend, and phone verification is successfully completed, the member can access the portal to manage their applications.
3. Create an application request
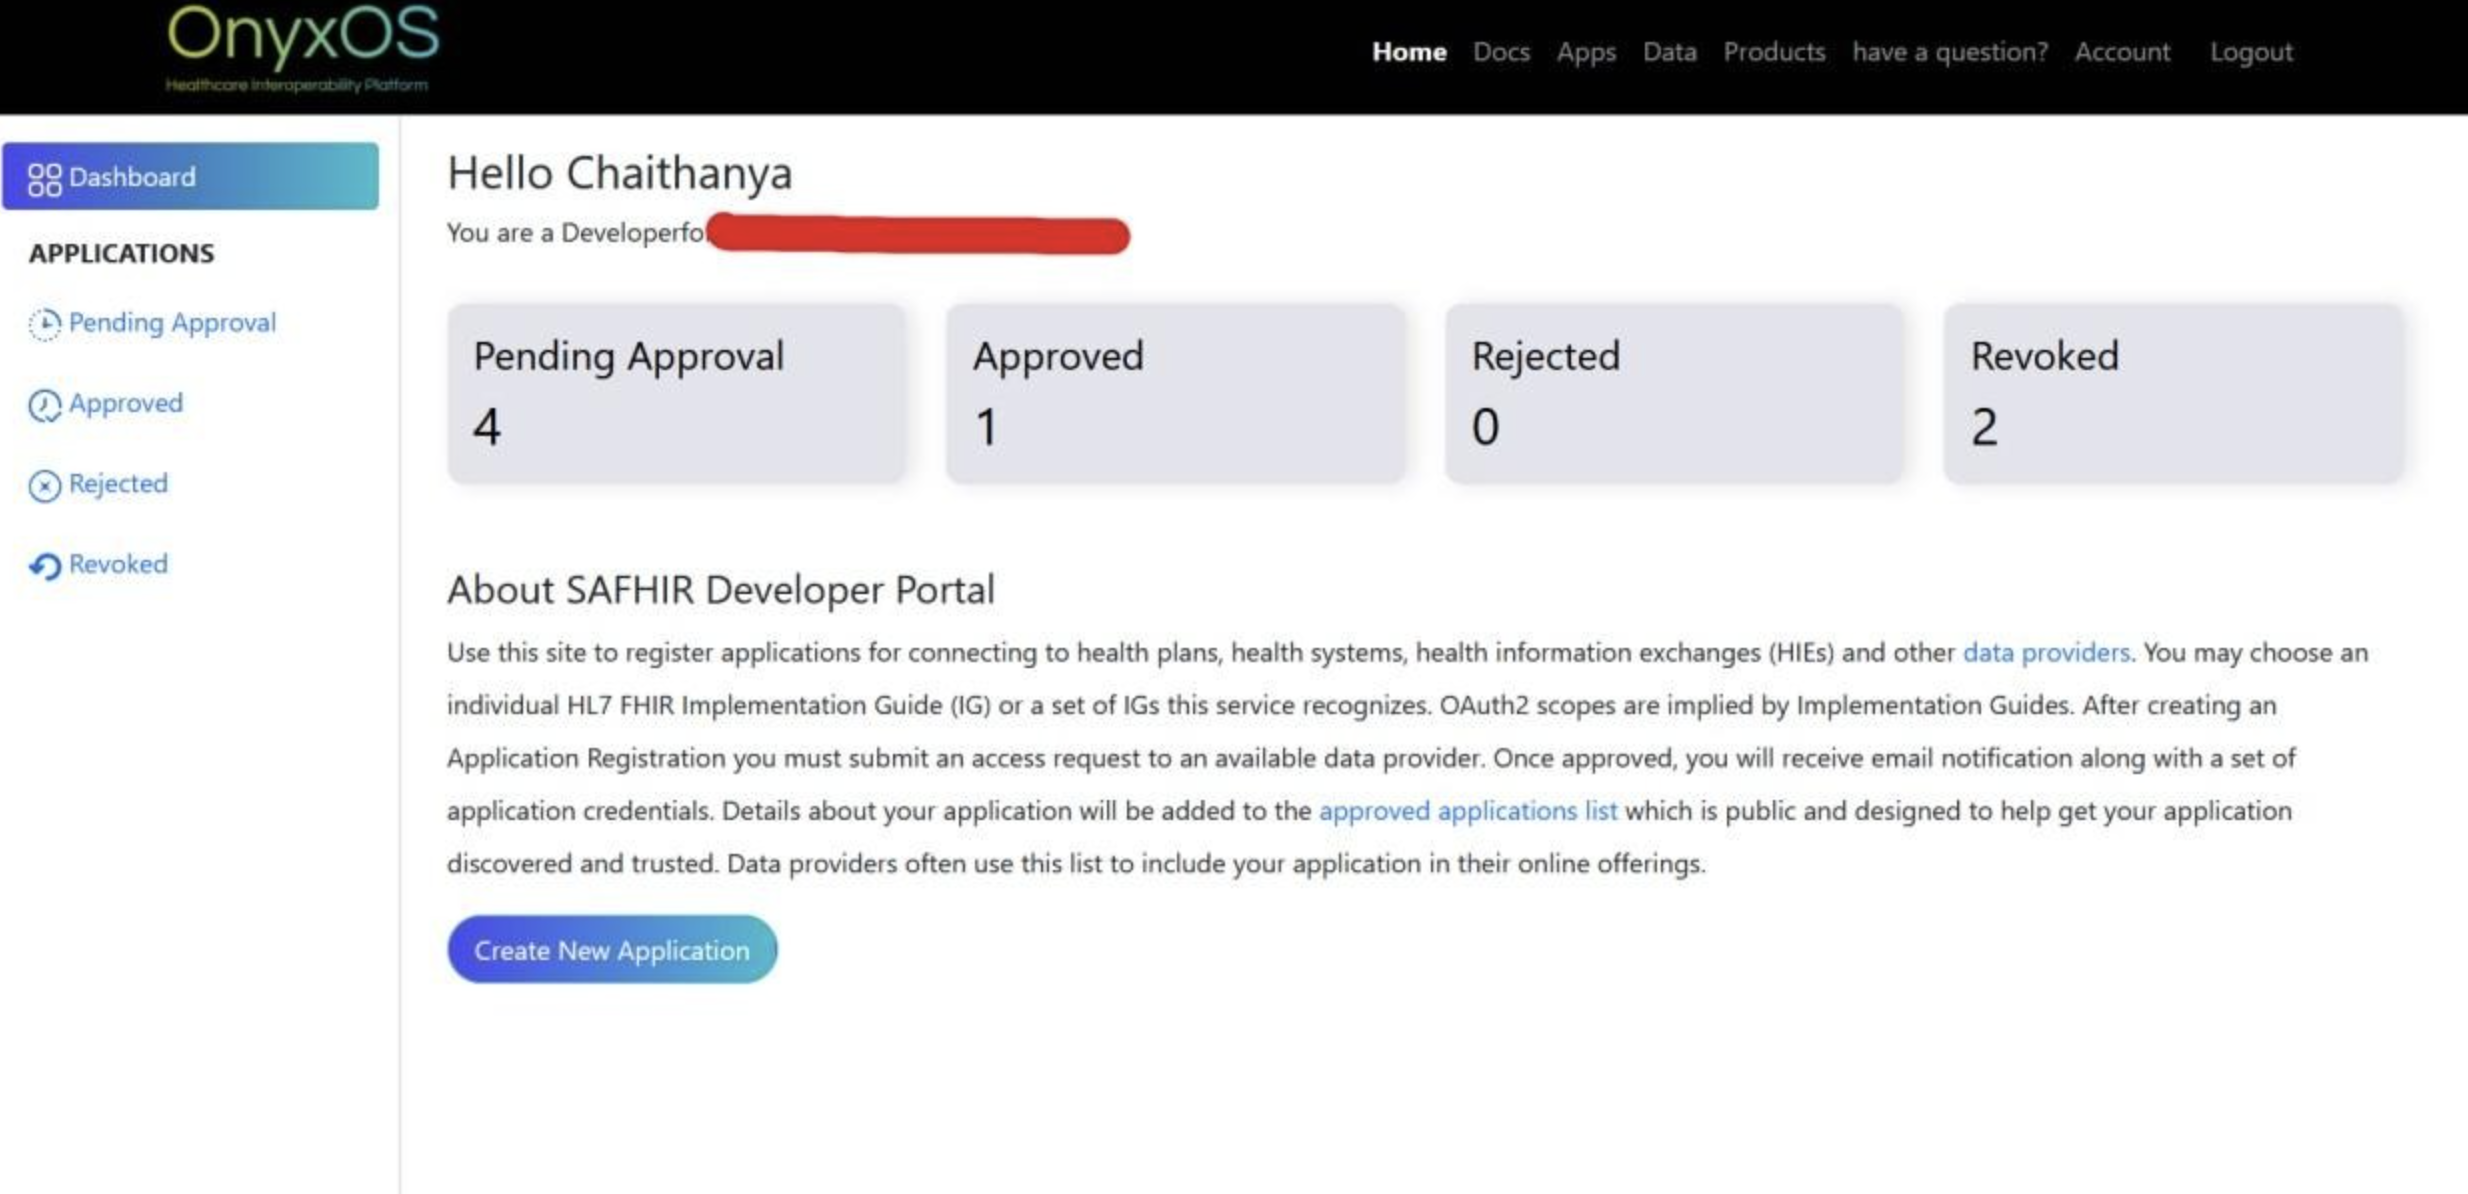
A successful login lands on the developer homepage, where the developer can create a new application request software by submitting details. To create a new application:
1. Click on create new application button.
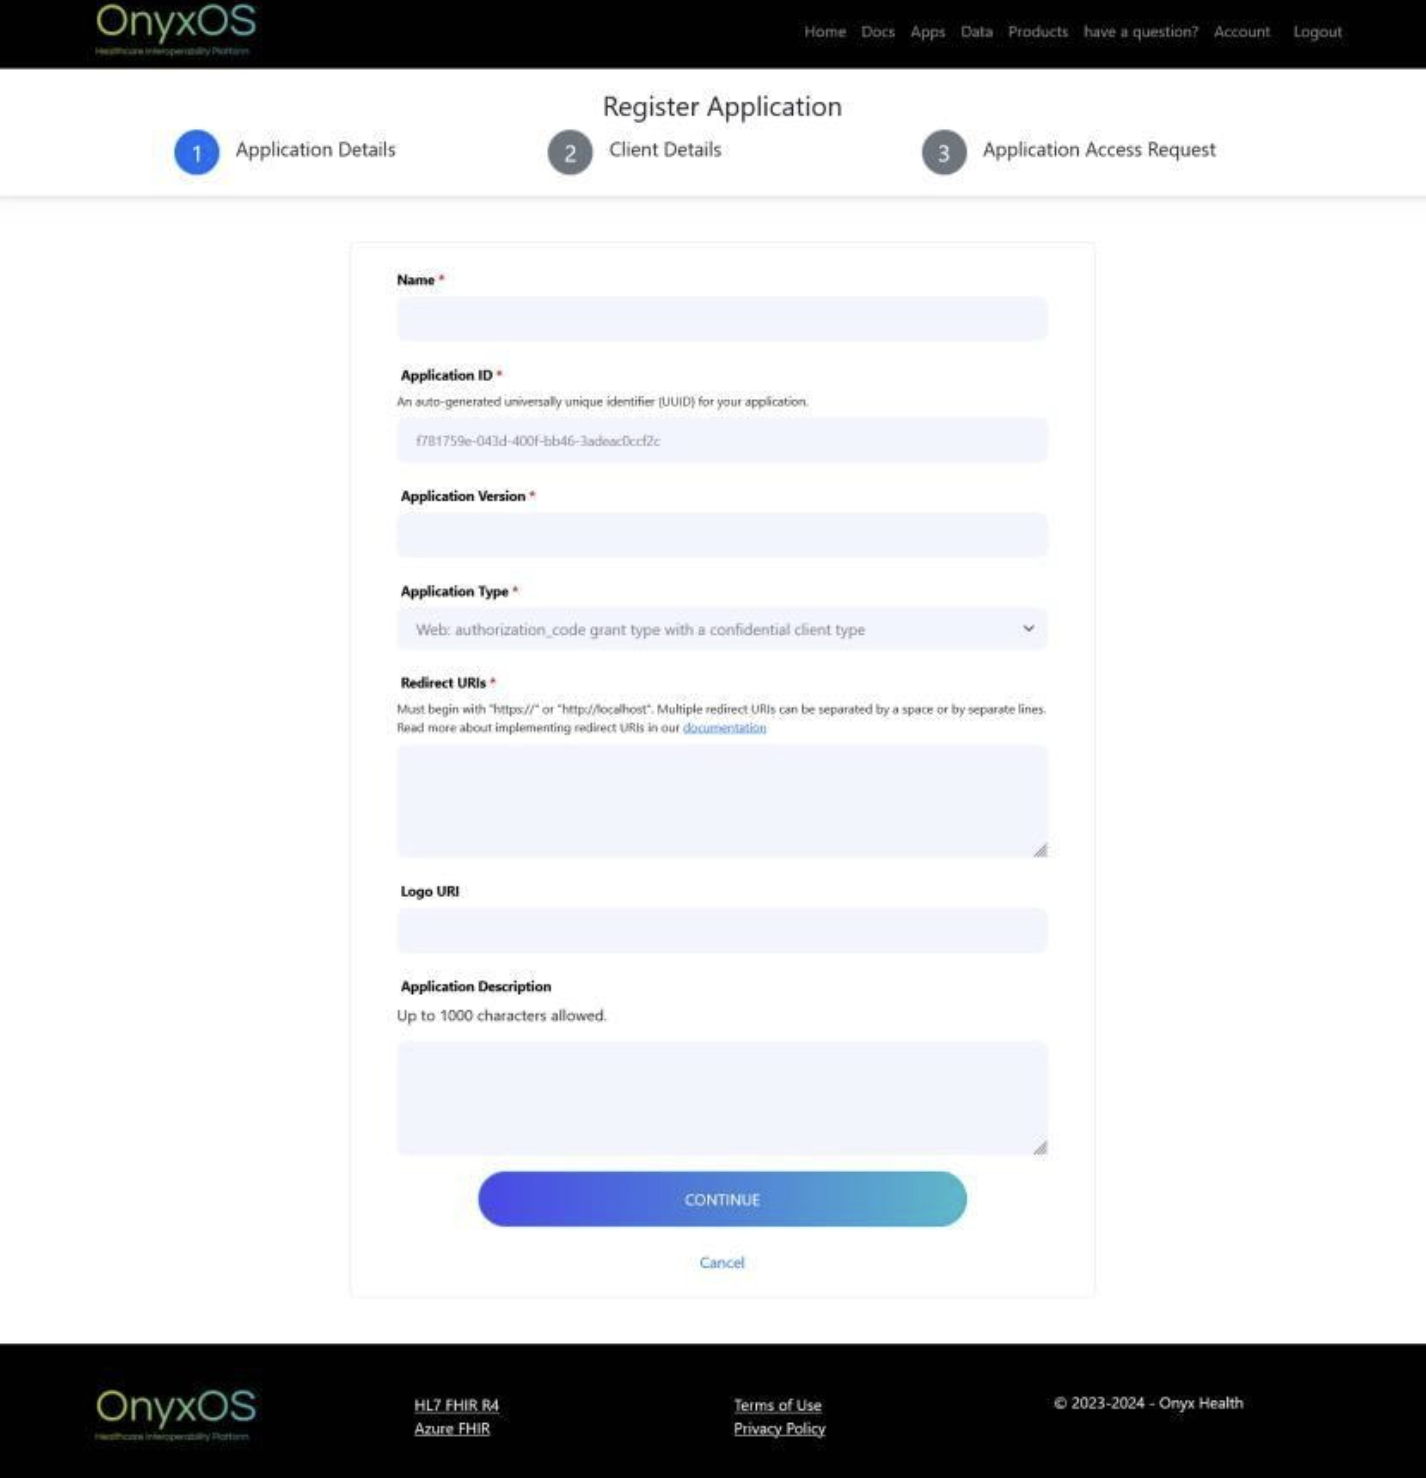
2. Enter the Application details.
The Mandatory fields are: Name, Application ID, Application Version, Application Type, Redirect URIs.
The optional fields are: Logo URI, Application Description.
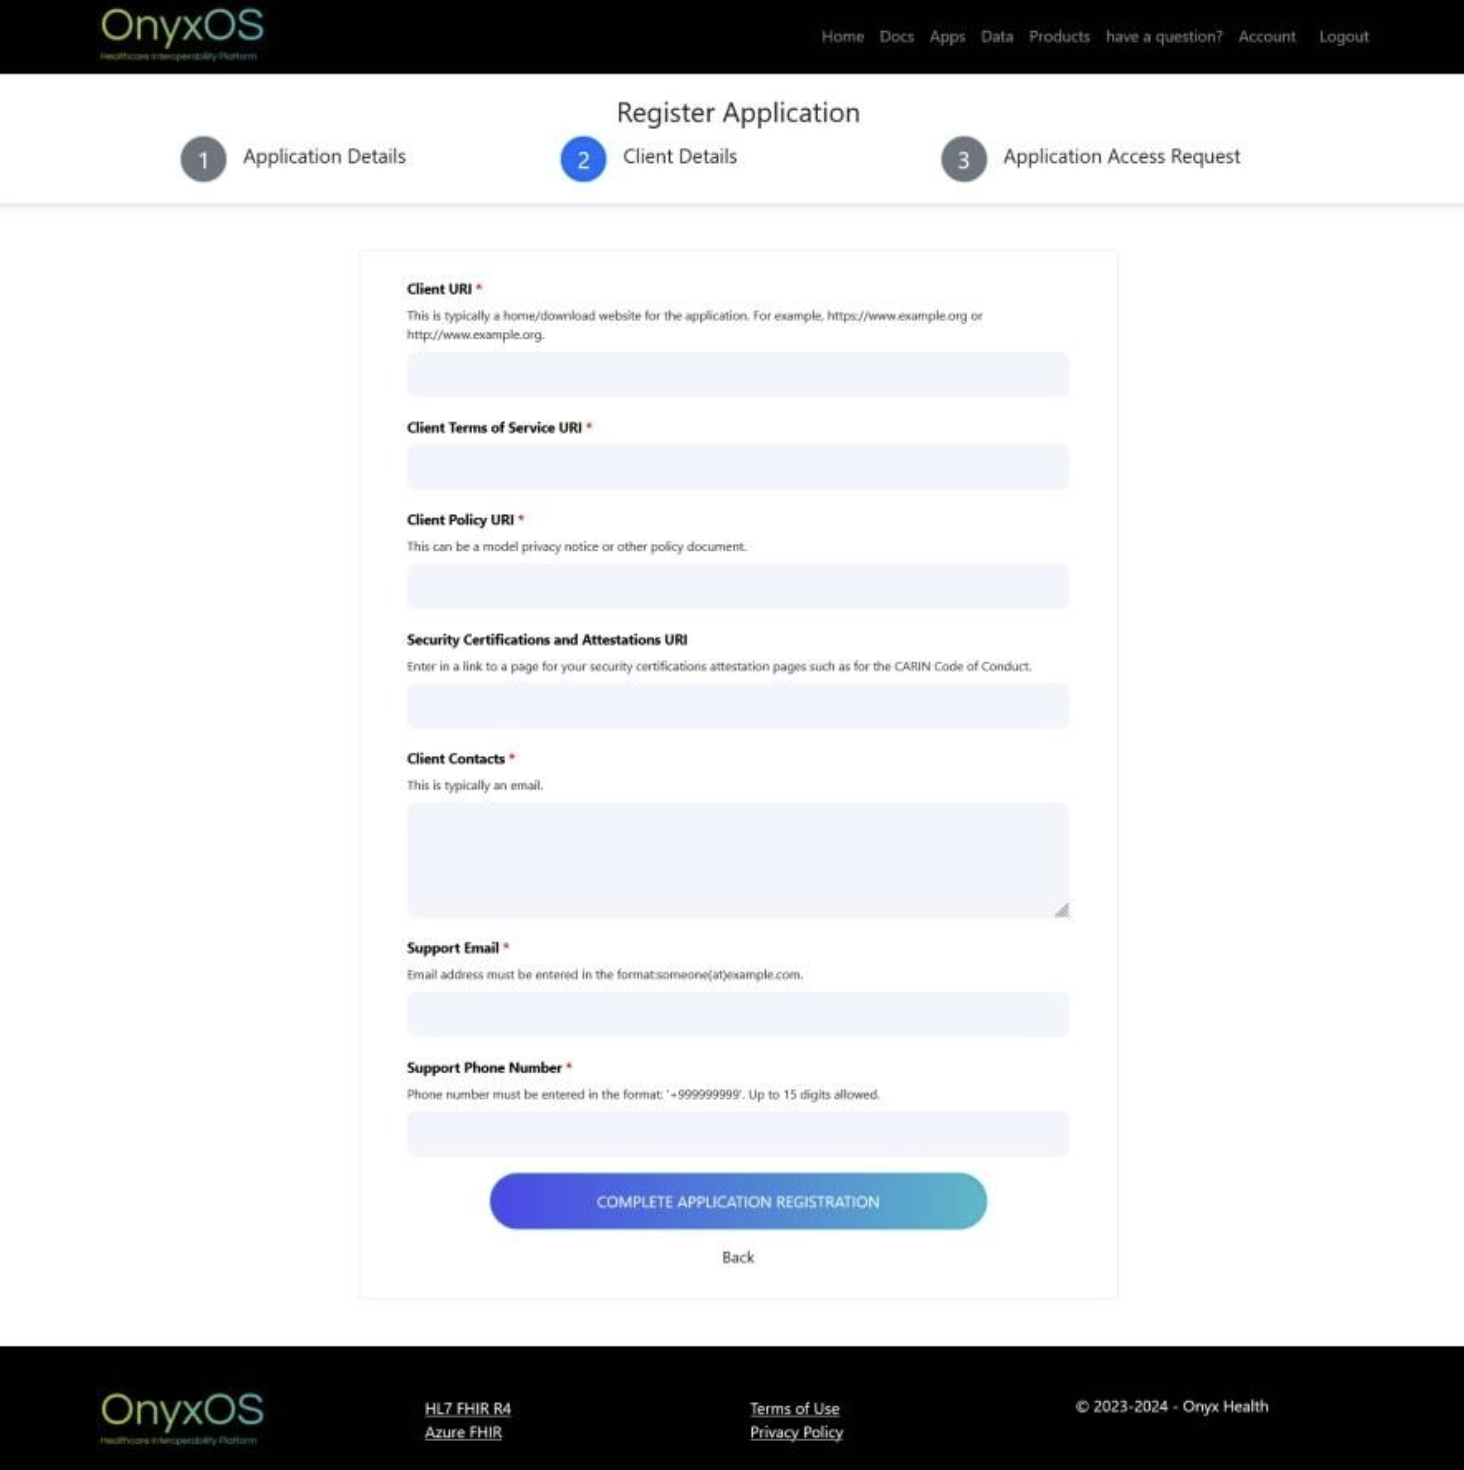
3. Enter the client details.
The mandatory fields are: Client URI, Client Terms of Service URI, Client Policy URI, Client Contacts, Support Email, Support Phone Number.
The optional field is: Security Certifications and Attestations URI.
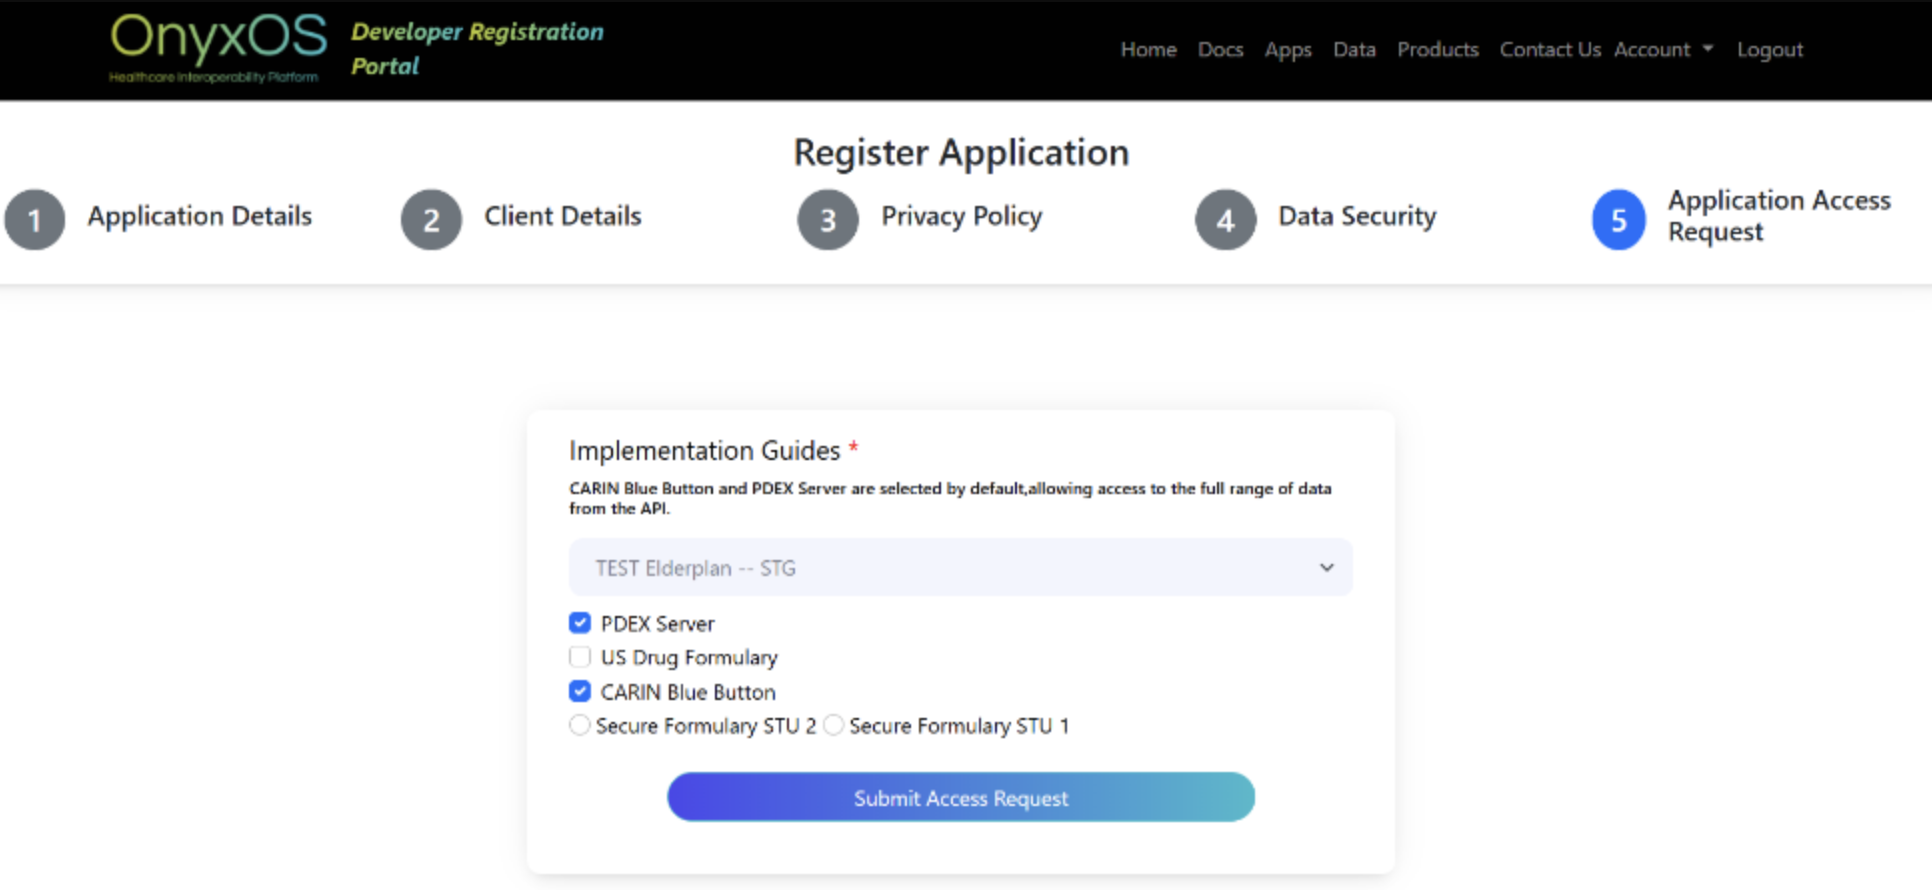
4. Select “TEST Elderplan – STG” as the data provider from the drop-down menu, then click Submit Access Request. Please ensure the applicable implementation guides are selected. (mandatory step)
NOTE – If the developer selects Test and Production environments at this time, know that ONLY the Test environment will be approved to allow for thorough testing and review prior to the access to the Elderplan Production environment.
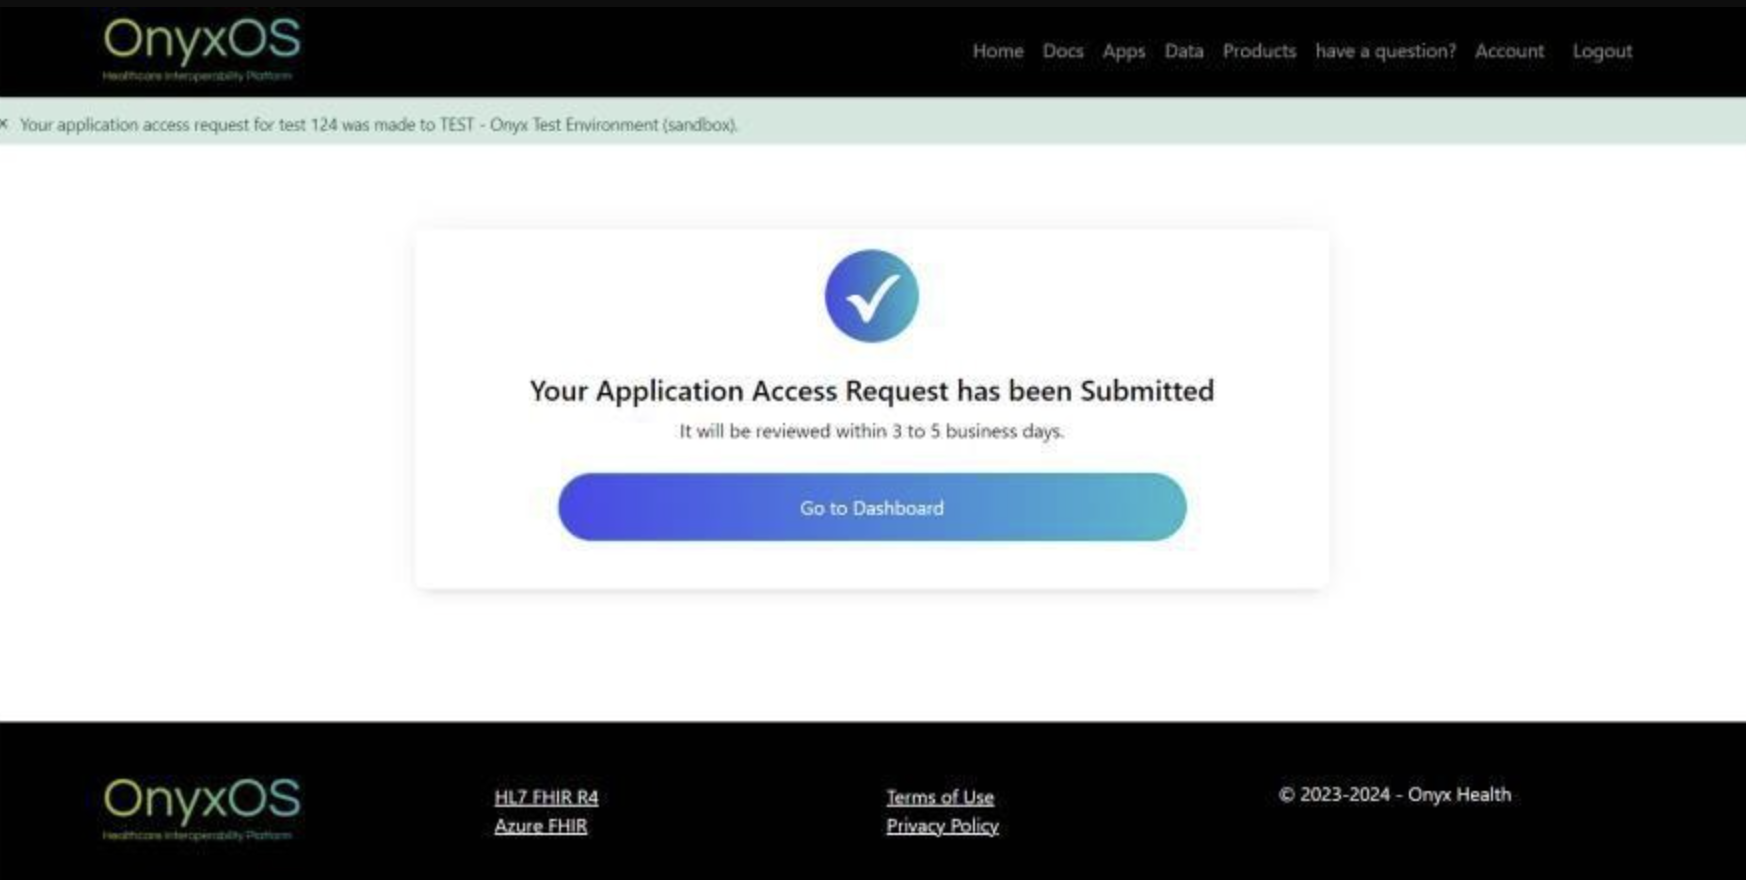
5. Once the request is submitted, a success page will appear marking the completion of application creation. The Elderplan Administrator will review and approve the application within 3 to 5 business days.
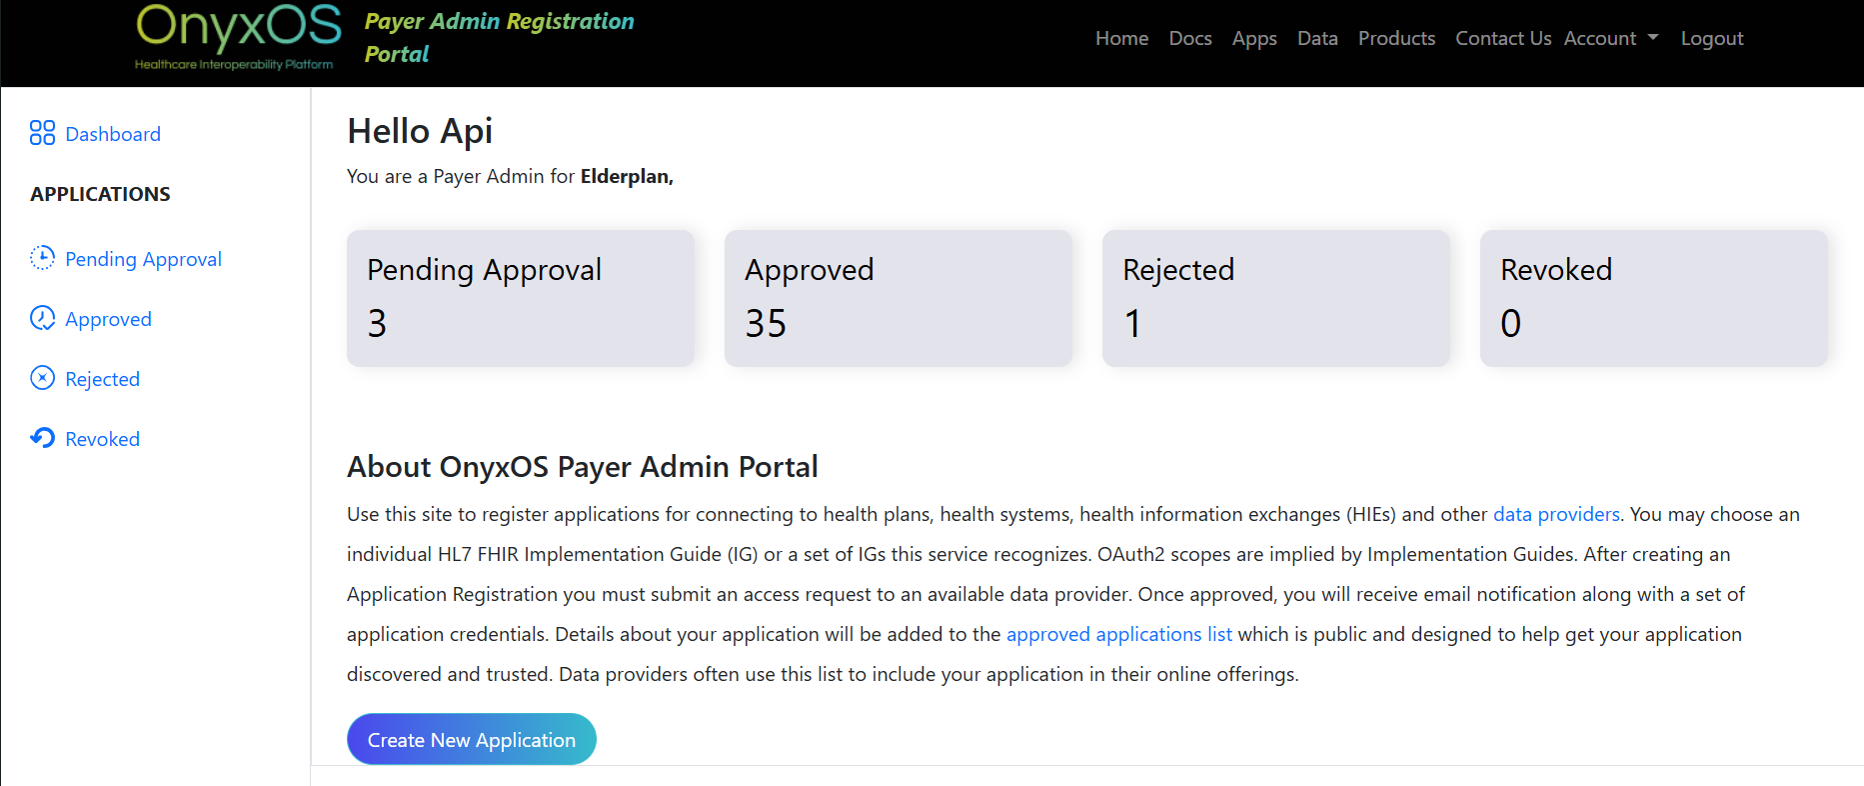
4. Payer Admin review and approve the access request
After receiving a notification about a new request, a Payer Admin logs into the portal and sees the list of software vendors requesting access to Payers they have approval permissions for.
5. Application credentials gets generated
In this step, the payer admin approves the request after reviewing the application details. The approval action also triggers a registration process in the backend which goes out to the Payer tenant, registers the application, and retrieves the registration credentials. These credentials will later be used to authenticate with the Payer when attempting to retrieve data.
The credentials generated include client_id and client_sec.

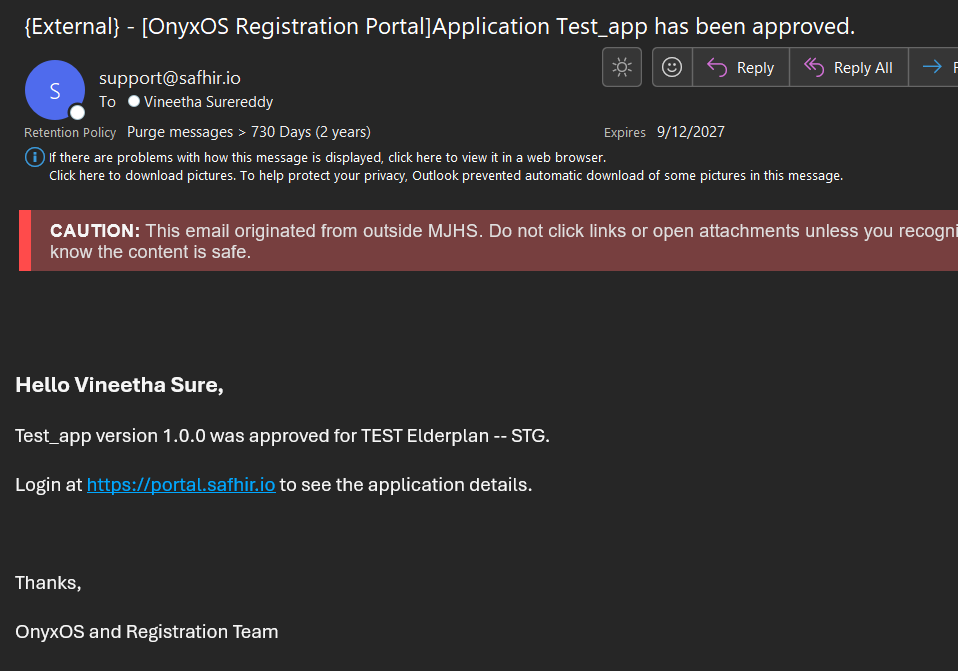
6. Developer receives the notification of approval
Once the application is approved by the Payer Admin, the developer who submitted the approval request will be notified via email.
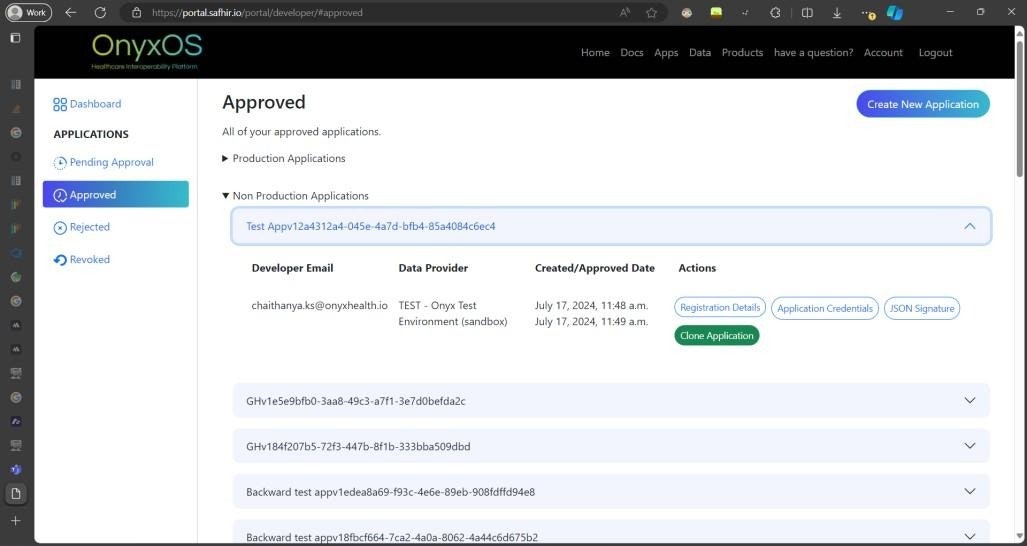
7. Developer accesses approved application request to retrieve credentials
The developer who submitted the request can then log in to the portal and retrieve the generated credentials that will be used to authenticate their app with the Payer.
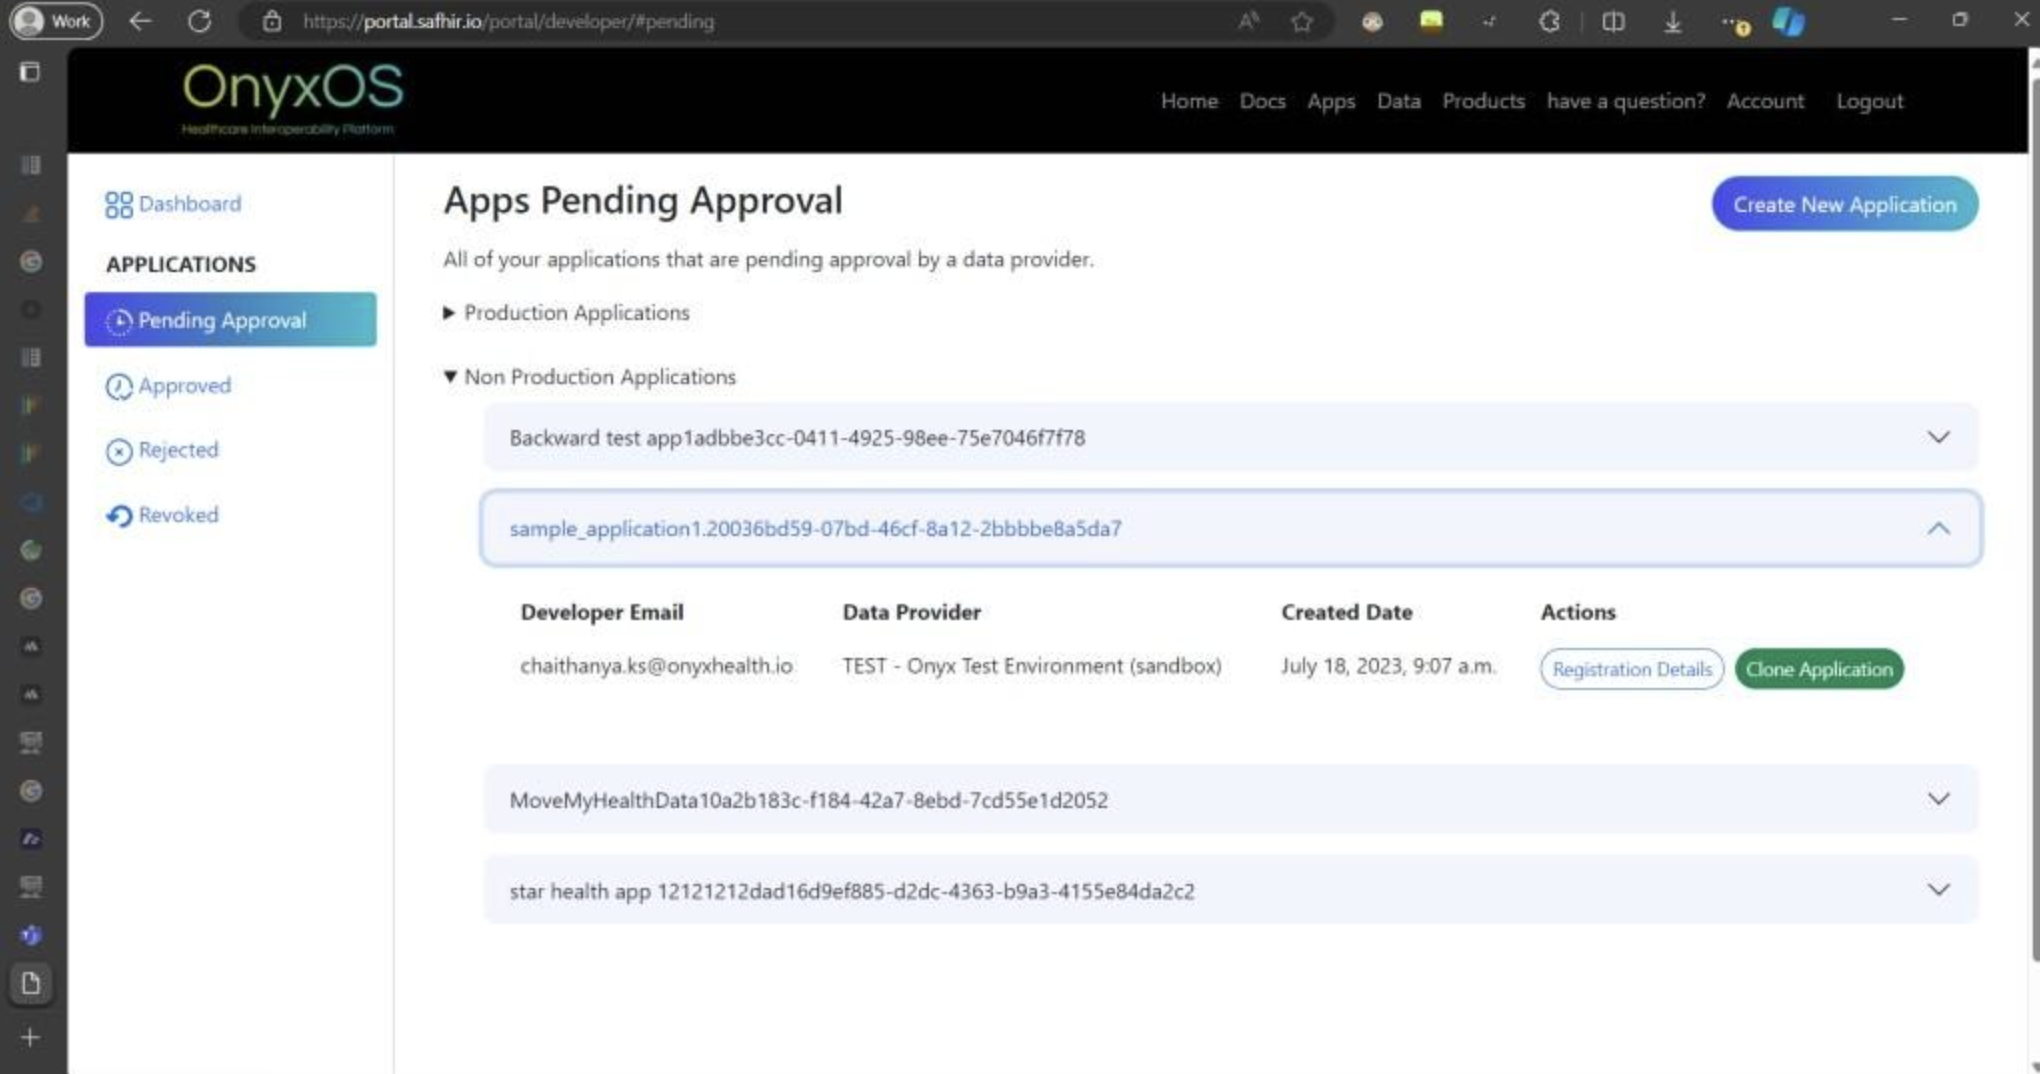
8. Screenshots
Pending Approval Section
Approved Section
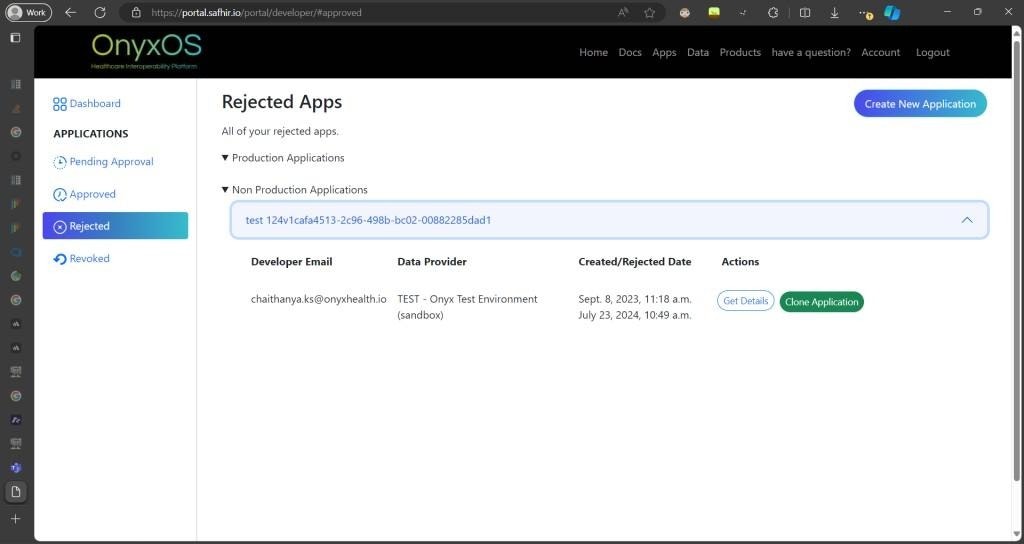
Rejected Section
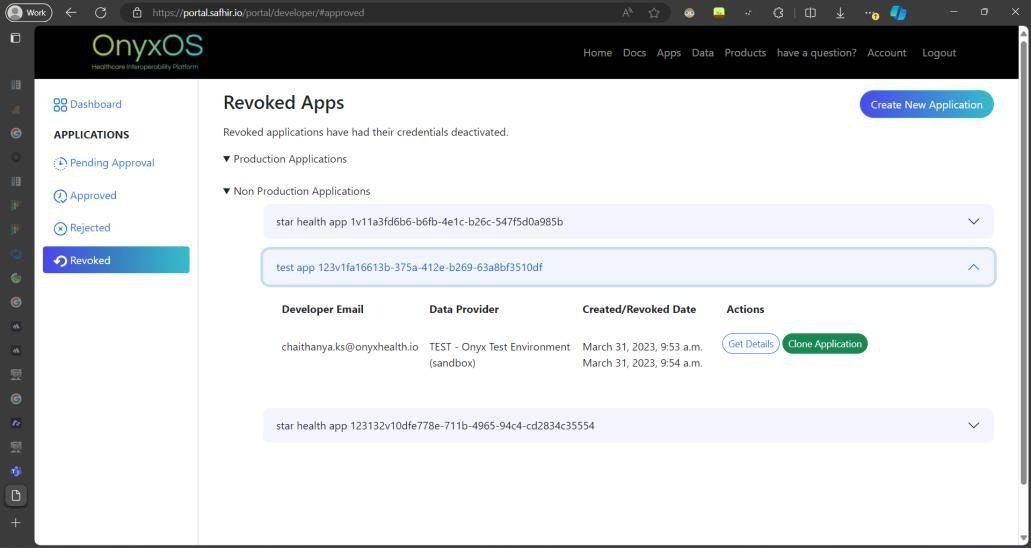
Revoked Section
Support Contact Details
If you’re facing any issues related to application registration, developers account username/password, or OIDC connection issues with test/sandbox/prod etc., please send us an email with details. We’ll connect and resolve the issues ASAP (if issue is related to Elderplan FHIR server).
Support Email ID: [email protected]